I have a quick project to share with you today. It’s really easy and can be done in an afternoon. 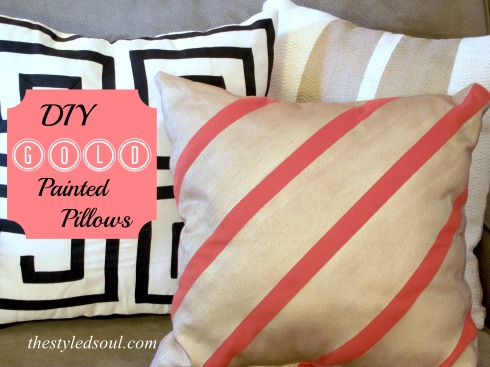
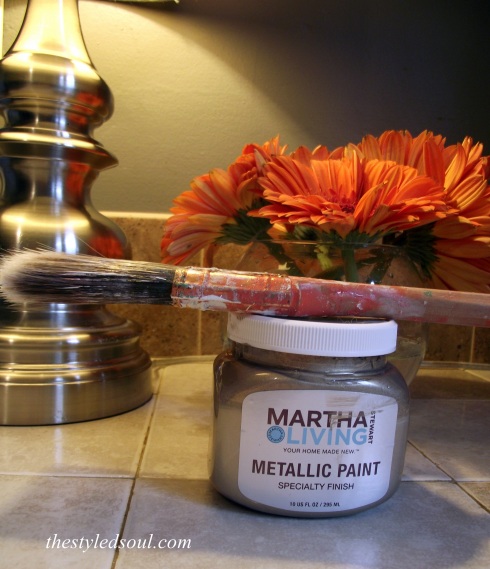
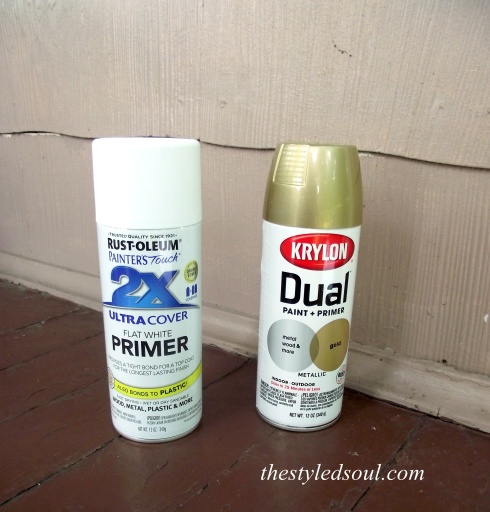
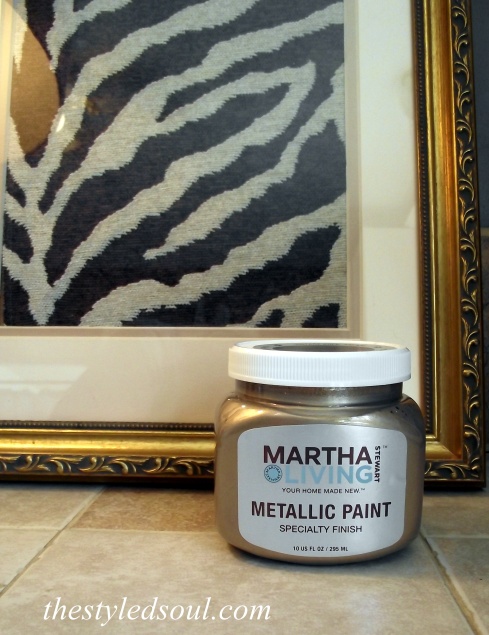
If you have some pillows you want to jazz up then this is for you. Martha Stewart Metallic Paint. Every time I went to Home Depot I would eyeball this paint. I don’t know what took me so long but I finally bought some.
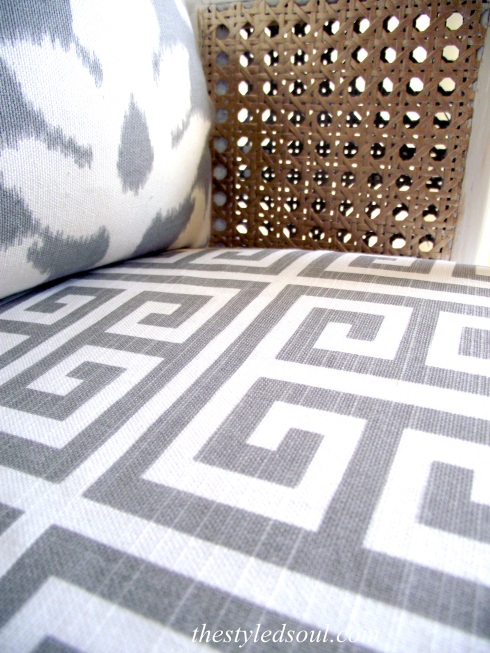
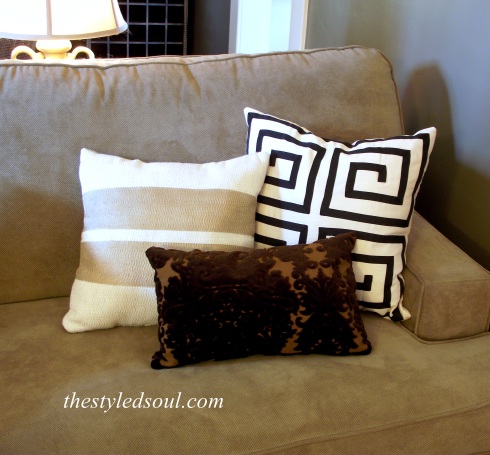
 There are about a hundred things I wanted to use this paint on but I decided to start with these plain toss pillows I made a while ago. They were nothing special. I had simply sewn together some old fabric swatches I had lying around. They are so much better now.
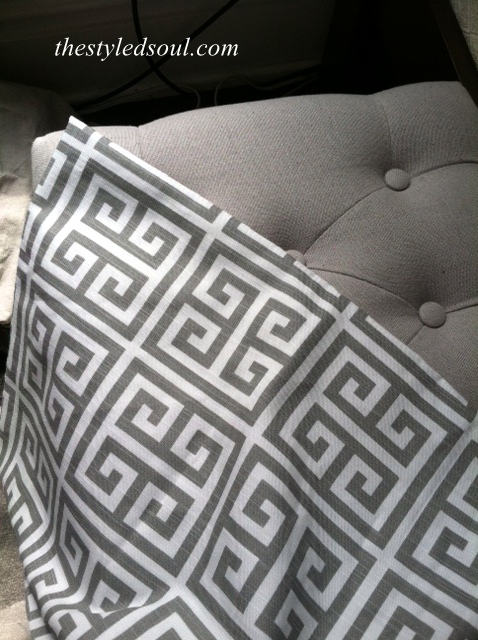
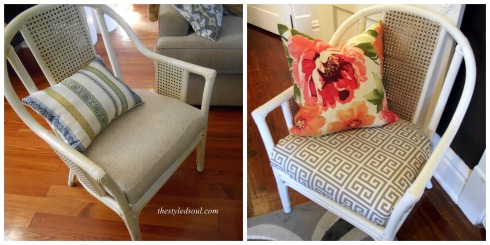
This is what I started with.

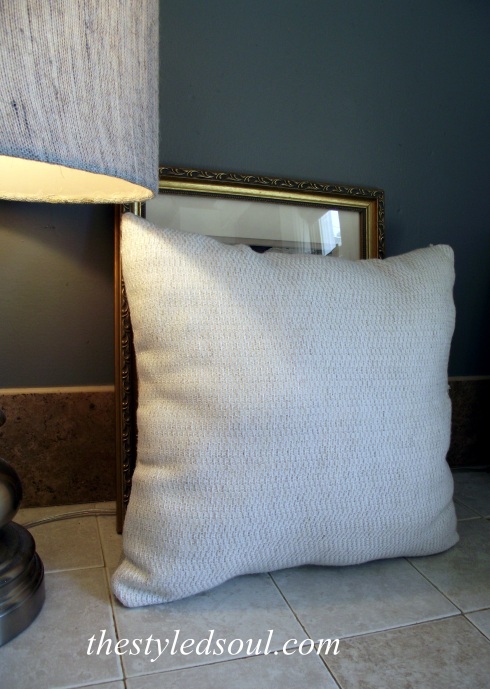
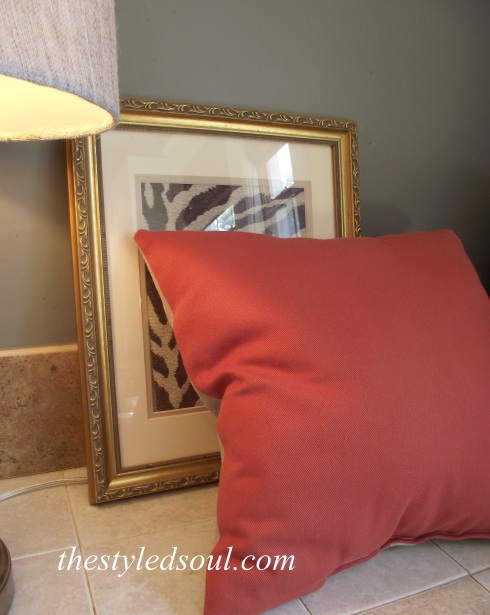
Yeah they are FAR from perfect but keep in mind sewing is “not mah thang”.
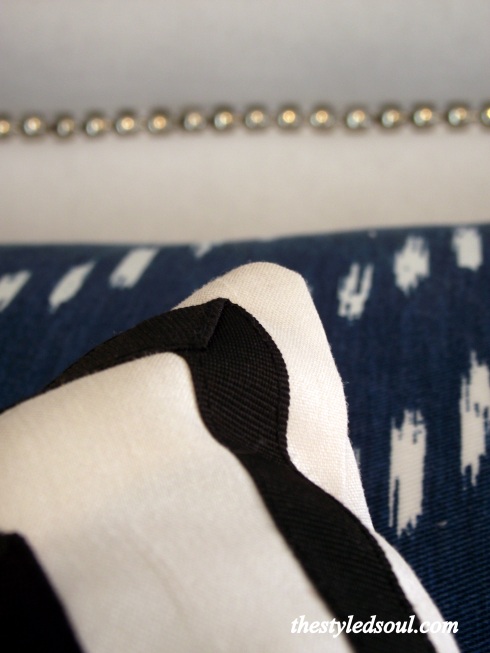
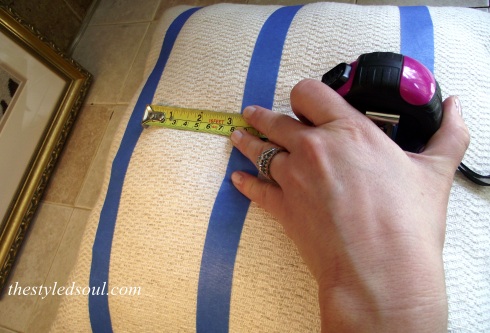
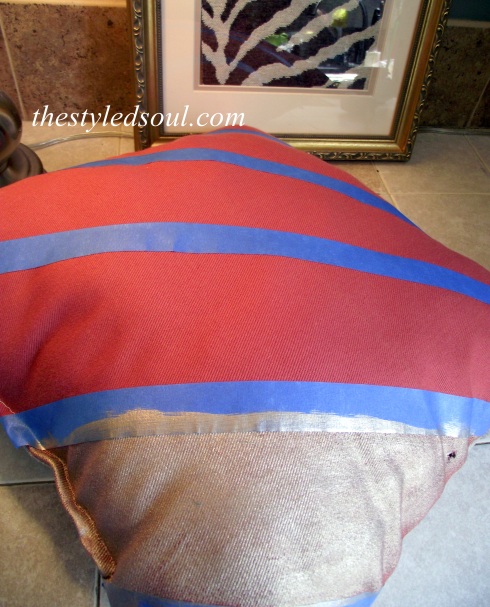
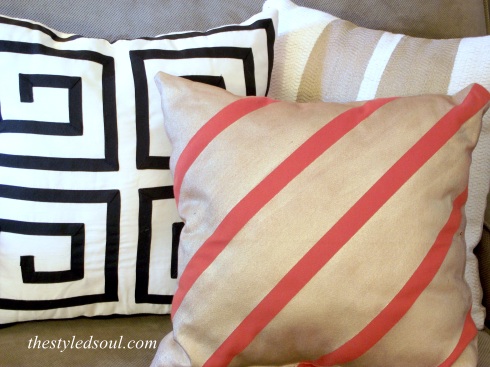
I taped off the first pillow so that I would end up with two bold stripes through the center of the pillow. I measured about 3 1/2″ between the strips of tape.
Once I started painting I quickly realized it would work much better with a paint brush.
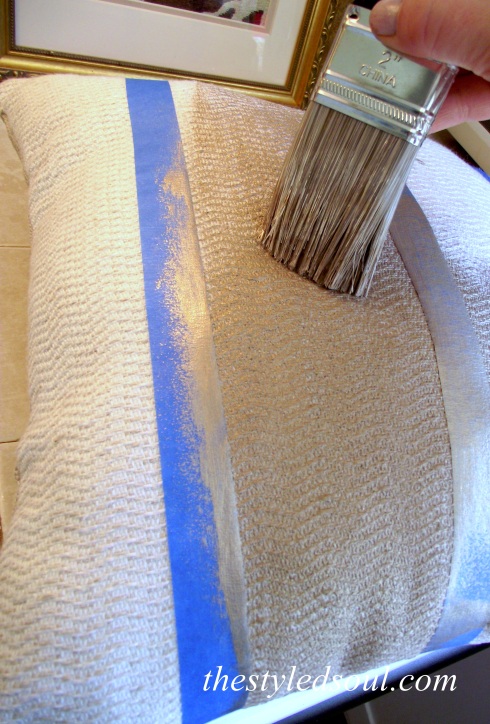
The fabric is textured so it was easier to get the paint to stick in all the grooves with a brush.
A couple of things I learned about painting fabric.
- Paint on top of and away from the tape. Not toward it. It felt like the paint would easily slide under the tape.
- Don’t put a lot of paint on the brush but saturate the fabric really well so you only have to apply one coat.
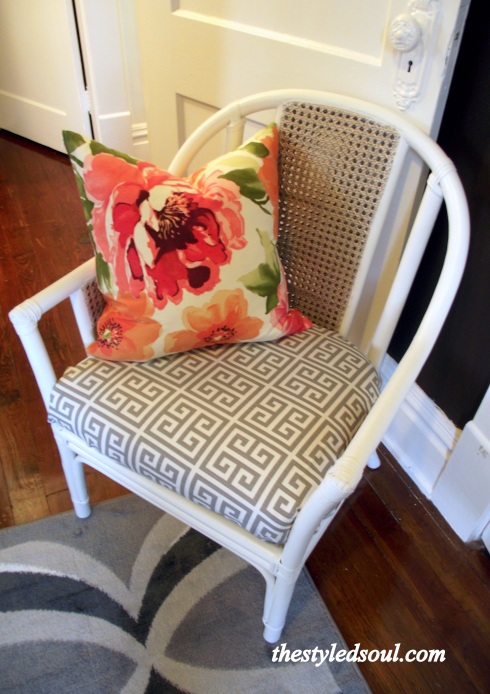
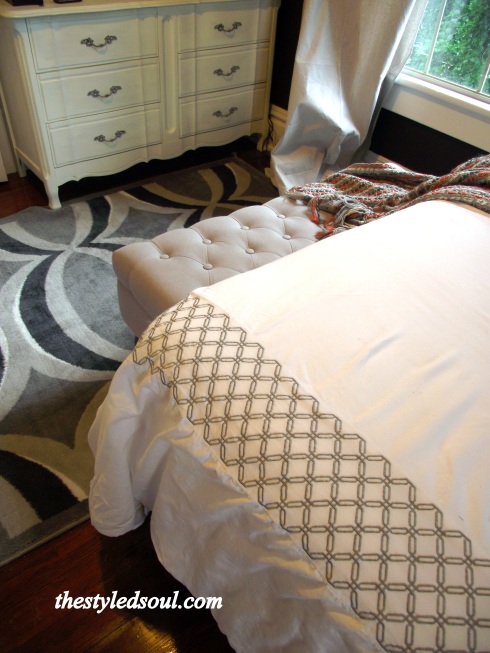
For the second pillow I wanted a diagonal pattern so I placed the tape in diagonal strips about 3″ apart.
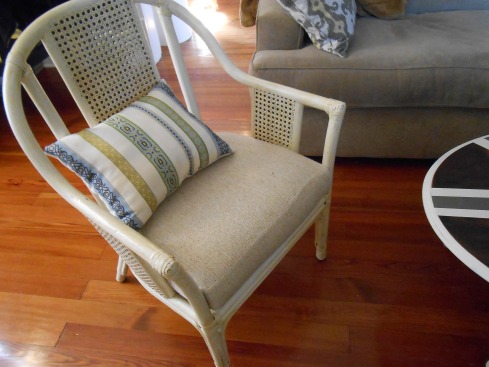
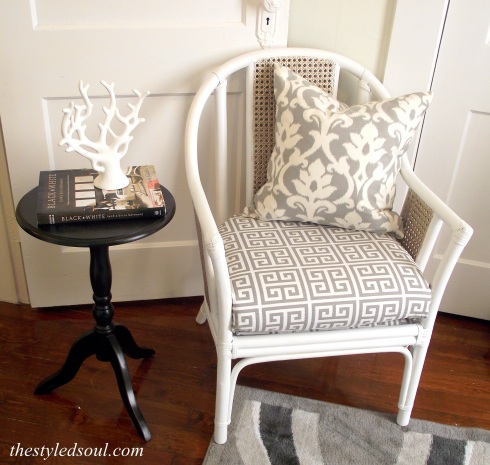
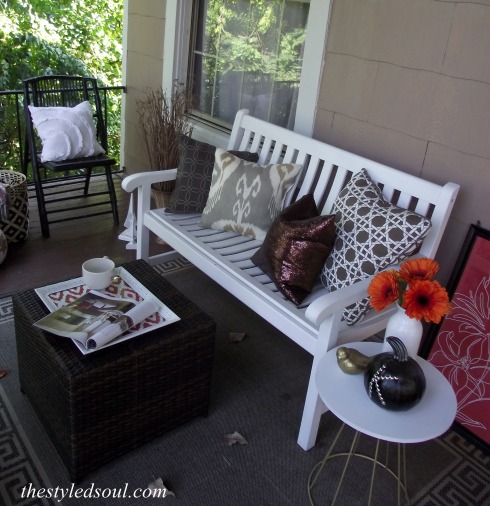
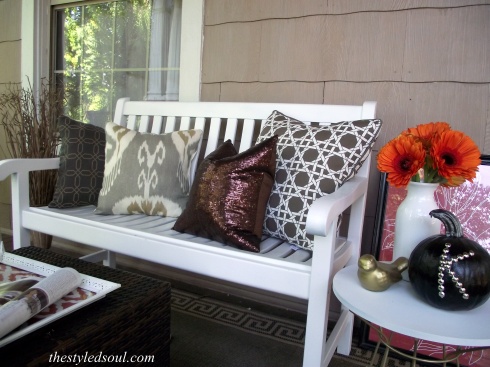
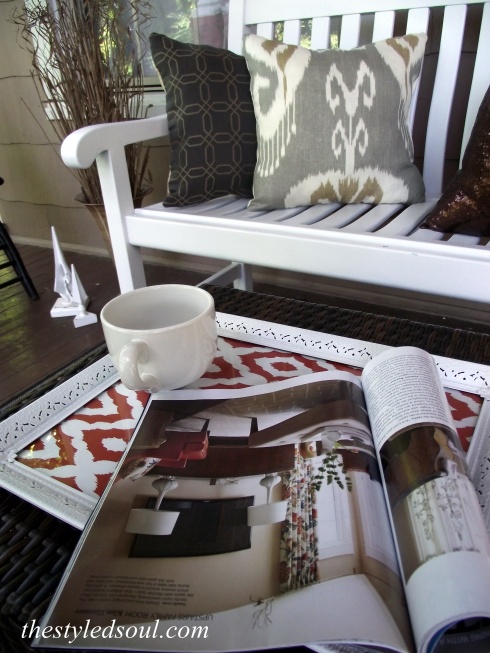
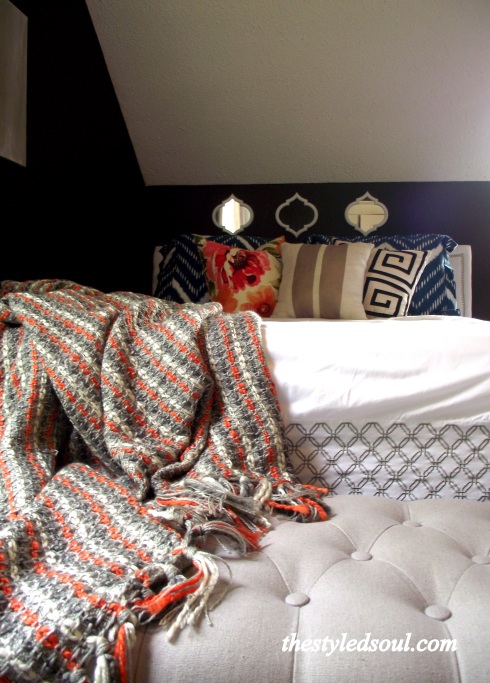
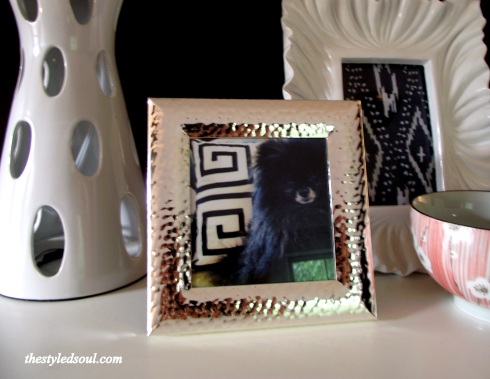
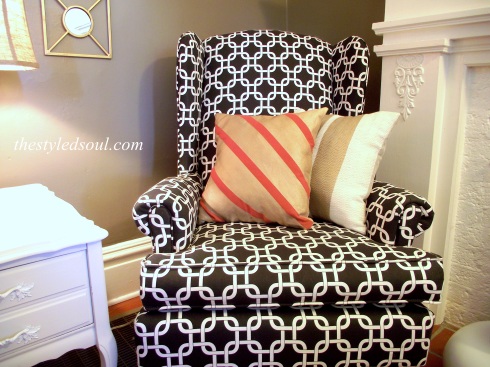
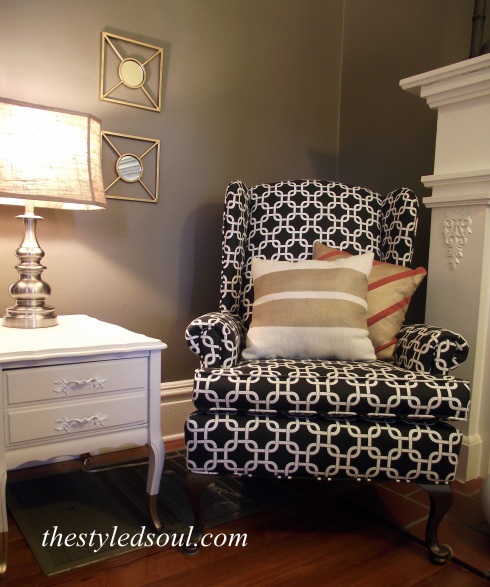
This is how they turned out.
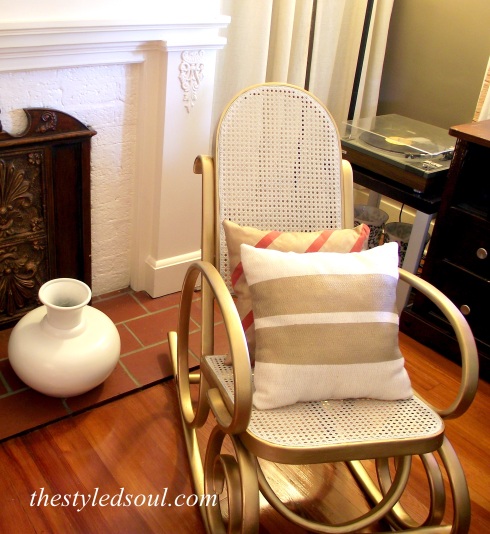
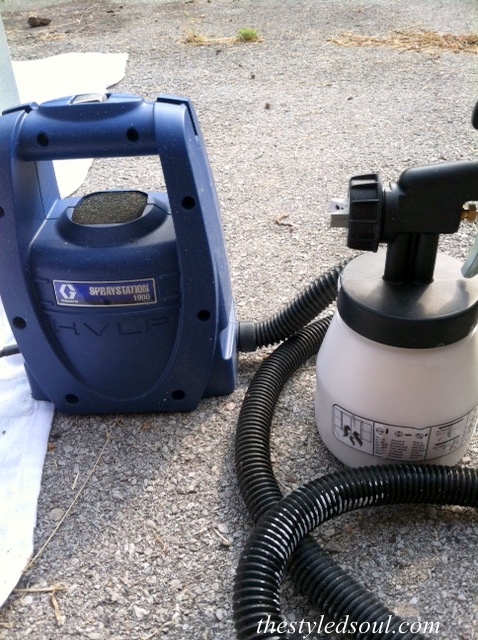
This was so easy. Seriously, it only took a couple of hours including dry time. I LOVE this paint. Thanks Martha! I can’t wait to try it on some other things. Until now, painting something gold required spray painting which meant if it was raining I could forget it. Oh, and it’s kind of hard to tell in the photos but it has a GORGEOUS metallic sheen and it isn’t as deep of a gold that you get from most spray paints. LOVE!
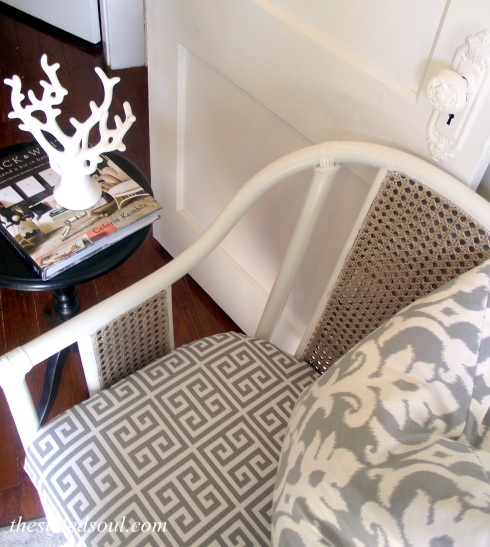
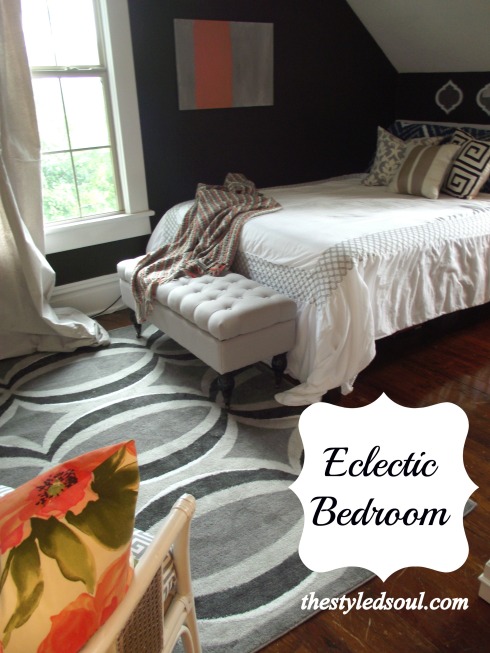
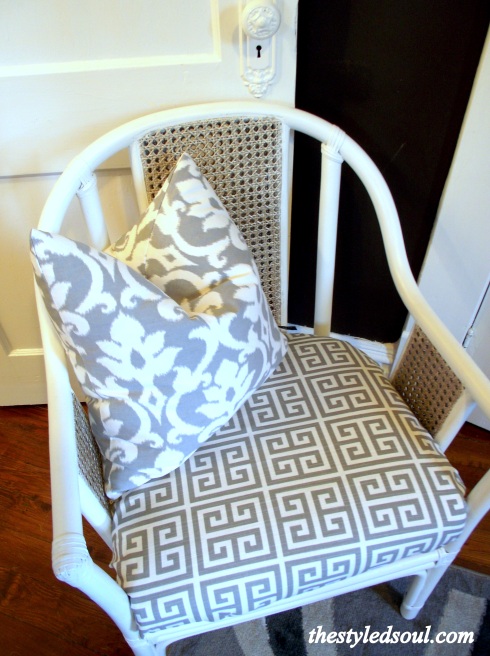
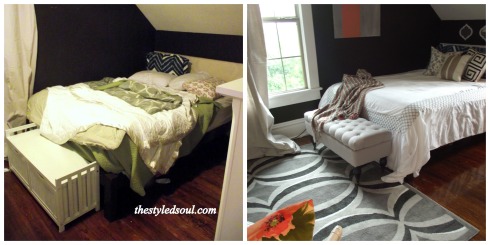
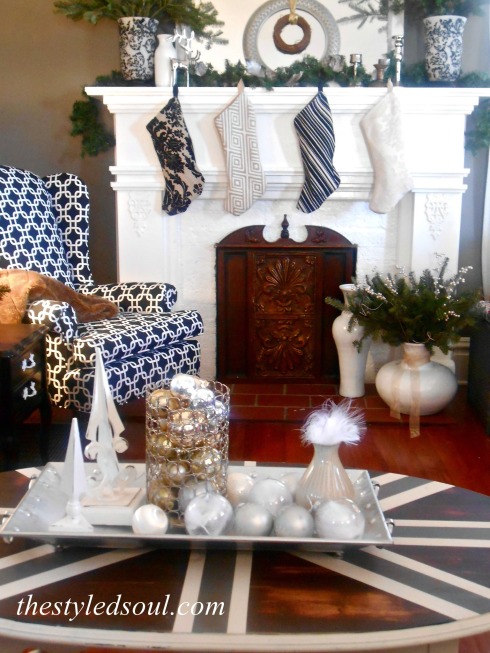
I’m still playing around with where I want to keep the pillows but for now they look pretty good in the living room. Oh, and I now have new inspiration to refinish our dining chairs. Maybe I can get to that soon….
So have you ever painted fabric? Share!!
This is where I’ll be linking up this week. Come check it out!
Liz Marie Blog
Suburbs Mama
DIY Showoff
Give Me the Goods Monday @ Rain On a Tin Roof
If It’s Not Baroque
The Blissful Bee
Home Coming

Tags: before and after, bold stripes, coral, DIY, diy painted fabric, fabric, fabric paint, fabric swatches, glam, gold paint, home, home depot paint, living room, martha stewart metallic paint, metallic sheen, painted, painted fabric, painted pattern pillows, pillows, refinished
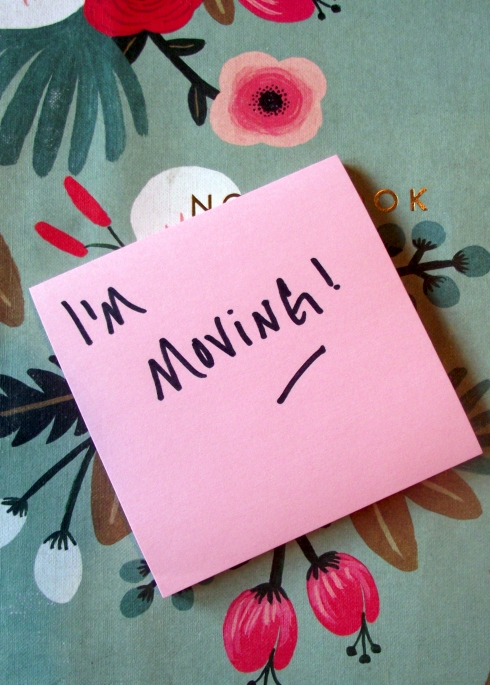 Just wanted to let you know I’m moving to a new site! First of all, thanks so much to all who have subscribed, visit and comment. If you have subscribed by e-mail then you should still receive notifications but if for some reason you don’t, you can still find me at http://www.thestyledsoul.com.