Tag Archives: Holiday

My Must-Haves for a Cozy Fall Porch

20 Sep

Cozy Fall Porch

It’s finally my favorite time of year. Fall is here! There is just something about fall  that feels like renewal. I don’t know if it’s just the break from the smothering humidity we get in the south, but I feel like I can breath again. With that feeling comes along the need for change. And the need for salted caramel lattes from Starbucks. Oh. My. Word. Have you ever had one of those things? Forget the pumpkin bring me the salted caramel.

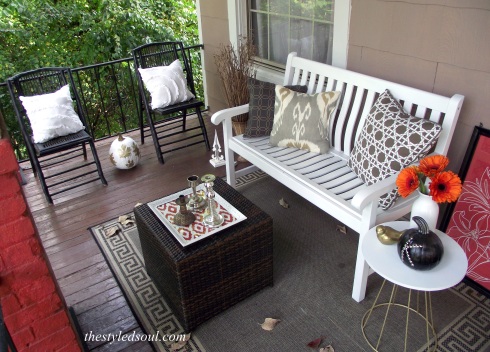
Anyway, since we like to spend time on the porch, especially this time of year, I decided to give it a fresh new look and share my “must-haves” for a cozy fall porch.

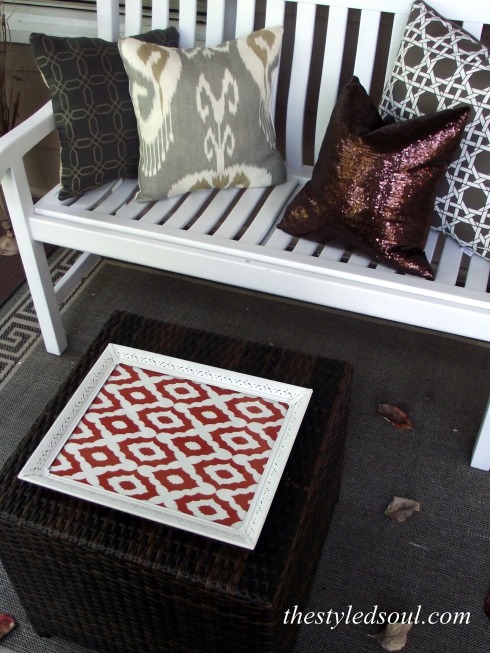
1. A seat big enough for two. A bench is perfect for a porch. They’re typically small but still big enough for two. I painted this one with three coats of plain old white paint that had been sitting in the basement for-ever. I used this to paint it. 

Graco SprayStation 1900

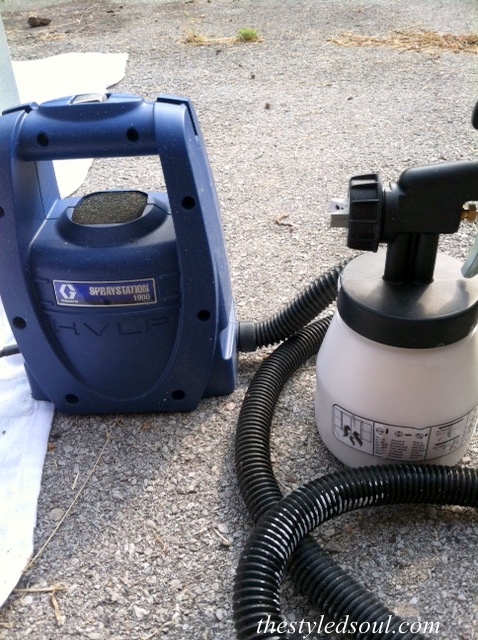
This thing is where it’s at! It’s the Graco Spray Station 1900. My brother-in-law gave me this for Christmas and I will be forever grateful. It would have taken days to paint all those slats by hand.

Painted Bench Fall Porch

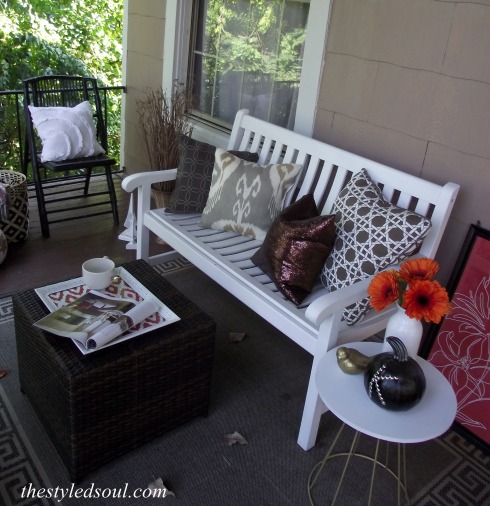
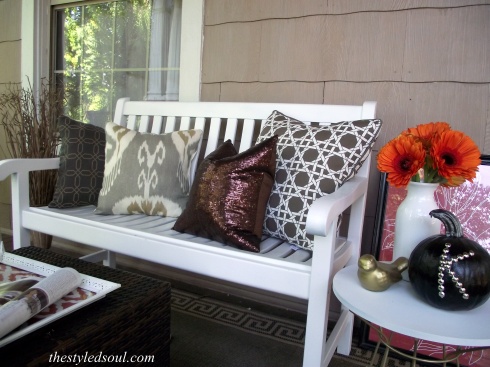
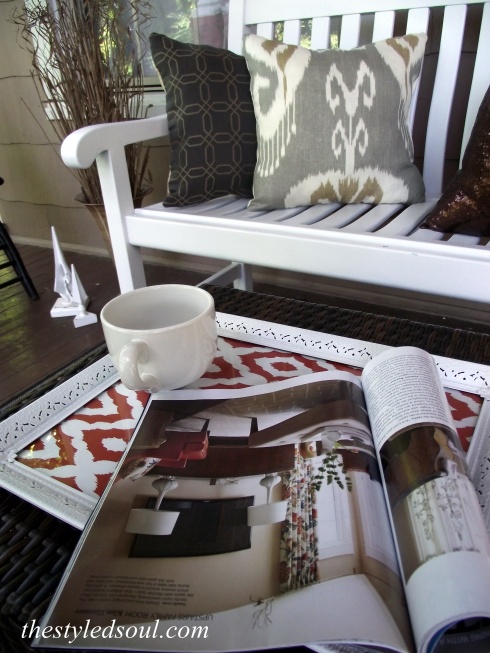
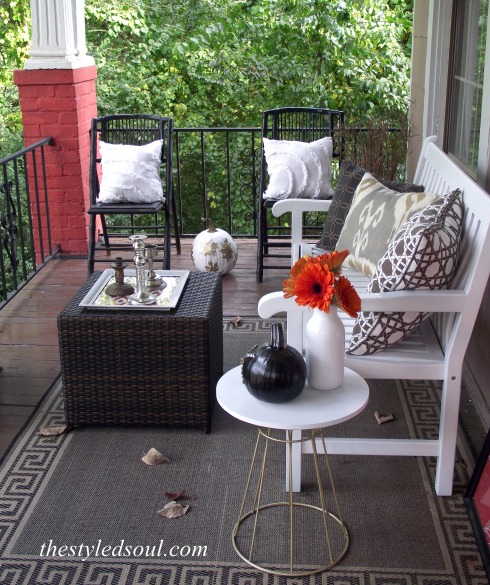
2.Pillows! Pillows are really a must-have in any situation though, right? I made all of these (except for the sequin pillow and the large brown and white pillow) from leftover fabric remnants and an old shower curtain.

DIY Fall Porch Pillows

DIY Fall Porch Pillows

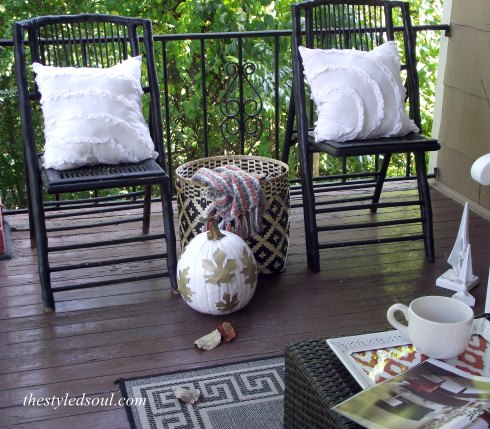
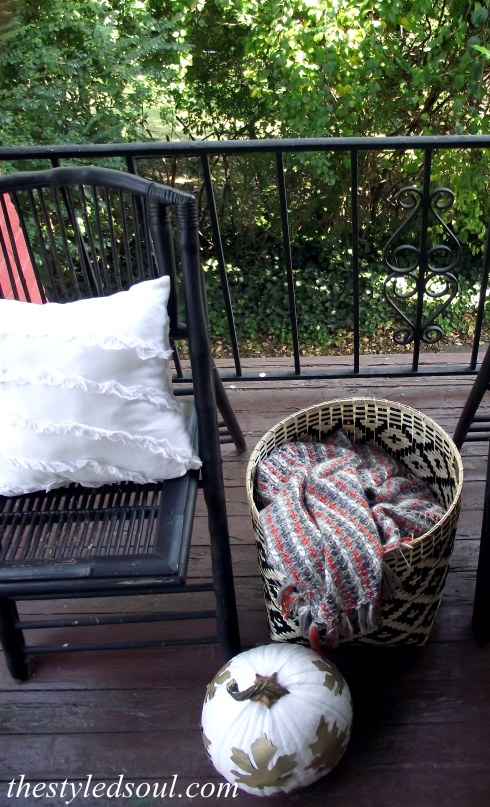
3. A cozy throw. Perfect to curl up in on a chilly night while reading a good book. I picked this one up at TJ Maxx. It’s soooo soft.

Cozy Fall Porch

4. A tray. You have to have a spot for your coffee or hot chocolate. Or wine. ;) I made this tray from an old picture frame and pretty wrapping paper.

Tray for Fall Porch

Tray for Fall Porch

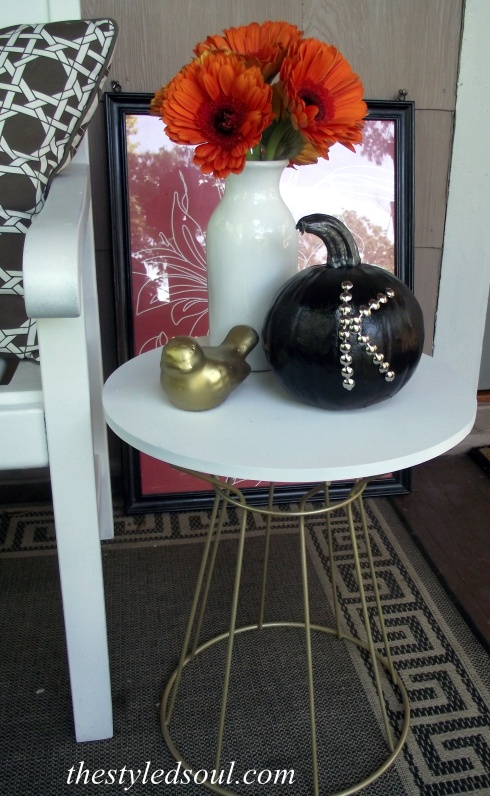
5. Pumpkins! Is there anything more fall than pumpkins? I could go crazy painting and decorating pumpkins but I limited myself to just two. I spray painted these then blinged them out a little. I added a monogram to the black one using nail trim. For the white one I spray painted the backs of some iron-on leaves and hot glued them to the pumpkin.

Painted PumpkinsPainted Pumpkin Fall Porch

Cozy Fall Porch

Cozy Fall Porch

So do you think I missed anything? So looking forward to hanging out on the porch as the nights get cooler! Happy Fall Ya’ll!!

Linking up at some great blogs this week. Hop over and check them out! Liz Marie Blog / A Stylish Interior / The Shabby Nest / Start at Home / Suburbs Mama / DIY Showoff / Rain on a Tin Roof / The Blissful Bee / The DIY Dreamer / Simply Designing with Ashley / One Project Closer

The Lettered Cottage

 photo name_zpse215d949.png

Finished! DIY Christmas Decor

21 Dec

Well here we are. Just FOUR days until Christmas!! I am feelin’ the Christmas spirit like nobody’s business. I have been knee-deep in wrapping paper and DIY decor. I have finished decorating, shopping and (almost) wrapping. I even got Christmas cards sent out this year.

card

I had this made at cardstore.com and got a GREAT deal. Just a little FYI.

Like I told you last time I wanted to do a lot of handmade decorating this year. My goal was to use what we have and spend very little money. Well the only thing I ended up spending on was the tree, a few ornaments and miscellaneous items at a thrift store,  and ribbon. Everything else we already had or I took from the yard.

So you’ve already seen the mantle when I posted my DIY stockings but you probably didn’t see the leaves that I spray painted silver or the branches that I spray painted white and covered in white glitter. The greenery in the vases were pulled from the base of our Christmas tree (we had to remove some anyway to fit it in the stand) and the vases are from our wedding. Two of the candlesticks were purchased at a thrift store and everything else we already had.

DSCN1333

DSCN1563

DSCN1566

These little guys used to be green and yellow. I simply spray painted them white then filled the larger one with more branches from the bottom of the tree. Then I added these swirly floral accents and pearly floral accents I bought a few years ago at Hobby Lobby. I decided to leave the other one empty.

DSCN1552

DSCF4868

Vases before.

I also had this gold tray that I had spray painted silver a while back. I thought it would be perfect to turn into a holiday centerpiece. So I filled a candle holder with silver and gold ornaments, tied together a grouping of white ornaments and  clear ones that are stuffed with white feathers and scattered it around the little beige vase and put a couple of feathers in that. The white wood accents are pulled from the dining room (that I still haven’t finished).

DSCN1510

DSCN0714

Tray before.

This one is my favorite. This is our sassy little kitchen tree. I got this tree a couple of years ago for $5.00! The base is wrapped with sheers from Ikea and the little reindeer underneath were purchased at a thrift store for $1.39 for the pair. The ornaments are from a thrift store and I bought the ribbon at Hobby Lobby when it was half price.

DSCN1445

So now that I’m finished, and still have a few days before Christmas to enjoy it, I might actually try to do some holiday baking. I’ll let you know how it turns out.

DSCN1533

DSCN1454

DSCN1545

May your holidays be filled with love, peace and blessings!

Merry Christmas to you and yours!

sig1

Simple DIY Christmas Stockings

7 Dec

Hey there! It’s been a while but I’m back. I have been busy going through some old Christmas decorations and picking up some new ones. I’m trying to incorporate some handmade decorations this year.

My first handmade project is Christmas stockings. I haven’t used stockings in a couple of years because I haven’t been able to find any I LOVED in my price range. Well, after looking through a book a friend had loaned me, I finally got the idea to just make my own. (duh). I have tons of fabric scraps lying around and many of them just so happen to be perfect for my theme this year.

Here they are!

DSCN1328

Let me begin by clarifying something. I’m pretty bad at sewing. I have tried and tried but I’m just not that good at it. One day I will take a class and learn how to cord pillows and do all kinds of other fancy stuff but for now I’m happy with being able to make a simple stitch. My point is, that’s all you really need to know in order to make your own stockings.

This is what you need to do.

First, use fabric that you love! It doesn’t have to be red and green just because it’s Christmas! I’m really into black and white lately and I’m also really into metallics. So that’s how I came up with my theme for this year. I went through my stock pile of fabric remnants and came up with these.

Then I dug out an ooooold stocking to use as my pattern. I just placed it on top of a fabric I didn’t really like (so it wouldn’t matter if I messed up) then traced it with a sharpie.

Once I had the pattern drawn I cut it with fabric scissors. Then I placed it on top of THE BACK of each fabric I wanted to use as the front of my stockings and traced then cut, one by one. Since I only had enough of the patterned fabrics for the front of the stockings I chose a neutral fabric for the backs and traced and cut these one by one. This won’t really matter since you won’t see the back anyway and it’s a good way to cut your cost if you are buying fabric to make stockings.

Ok, now comes the fun part. (I’m using the term “fun” loosely here). Place the fabrics FACE TO FACE. Now you should really pin the fabric together but since I am the most impatient person in the world I never do this. I jump right into sewing, holding the fabric together as I go.

DSCN1258

Once you’ve sewn all the way around (except across the top) just turn them inside out. Now I wanted to make this as easy as possible. So to give the top a finished look I simply hot glued the top of the inside, folded it in and pressed it until it dried. Then I cut a small strip of fabric for each stocking, made a loop and hot glued those one by one onto each stocking.

I know they aren’t perfect but I really just wanted some basic, simple, pretty stockings.  I also decided I had to put our new black and white chair by the fireplace and it looks so much better over there. What do you think?

DSCN1328 DSCN1331

DSCN1338

Be back soon!

sig1