Tag Archives: nail head trim

My Must-Haves for a Cozy Fall Porch

20 Sep

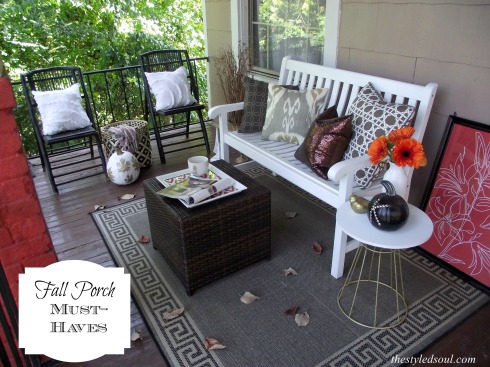
Cozy Fall Porch

It’s finally my favorite time of year. Fall is here! There is just something about fall  that feels like renewal. I don’t know if it’s just the break from the smothering humidity we get in the south, but I feel like I can breath again. With that feeling comes along the need for change. And the need for salted caramel lattes from Starbucks. Oh. My. Word. Have you ever had one of those things? Forget the pumpkin bring me the salted caramel.

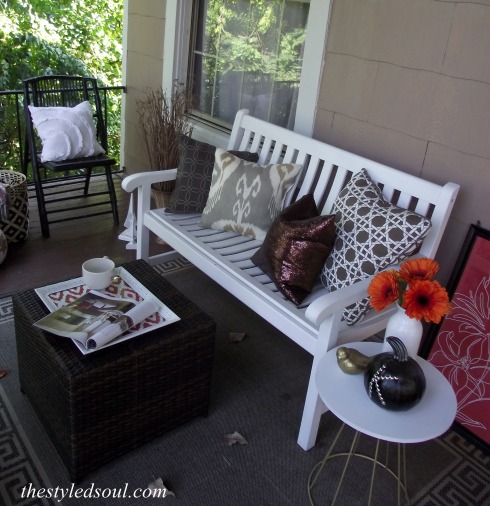
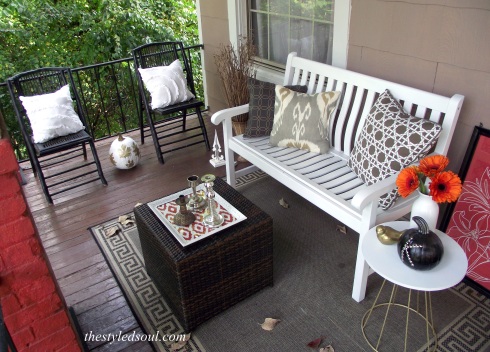
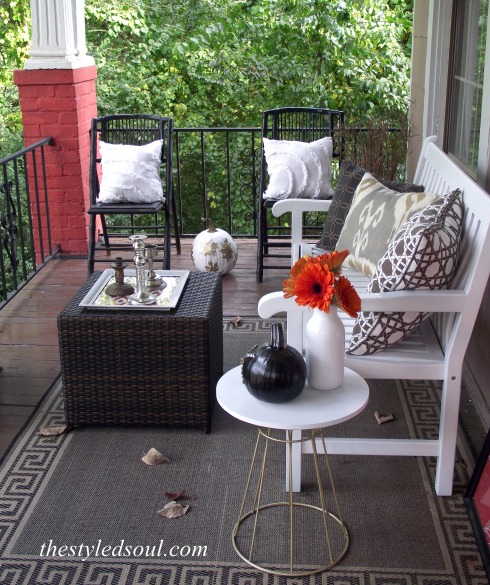
Anyway, since we like to spend time on the porch, especially this time of year, I decided to give it a fresh new look and share my “must-haves” for a cozy fall porch.

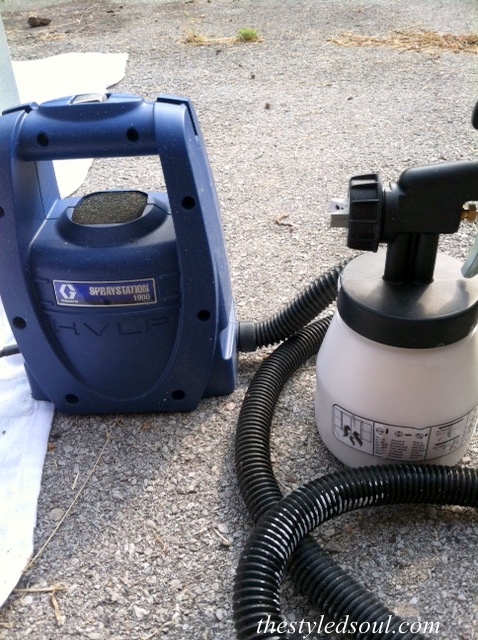
1. A seat big enough for two. A bench is perfect for a porch. They’re typically small but still big enough for two. I painted this one with three coats of plain old white paint that had been sitting in the basement for-ever. I used this to paint it. 

Graco SprayStation 1900

This thing is where it’s at! It’s the Graco Spray Station 1900. My brother-in-law gave me this for Christmas and I will be forever grateful. It would have taken days to paint all those slats by hand.

Painted Bench Fall Porch

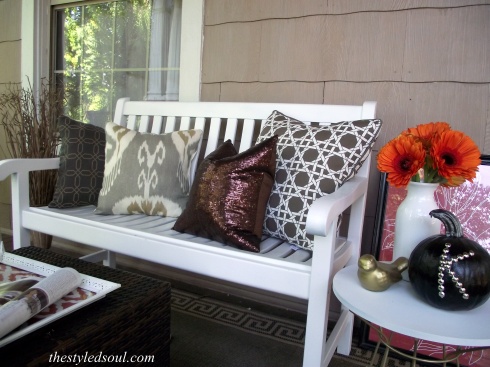
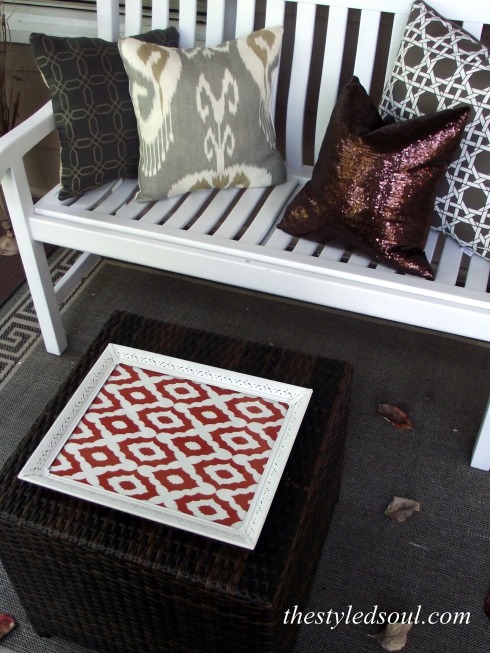
2.Pillows! Pillows are really a must-have in any situation though, right? I made all of these (except for the sequin pillow and the large brown and white pillow) from leftover fabric remnants and an old shower curtain.

DIY Fall Porch Pillows

DIY Fall Porch Pillows

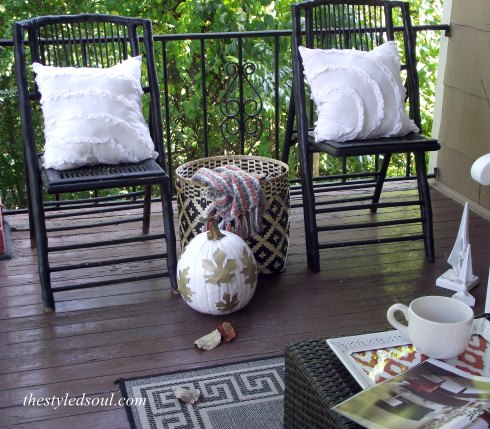
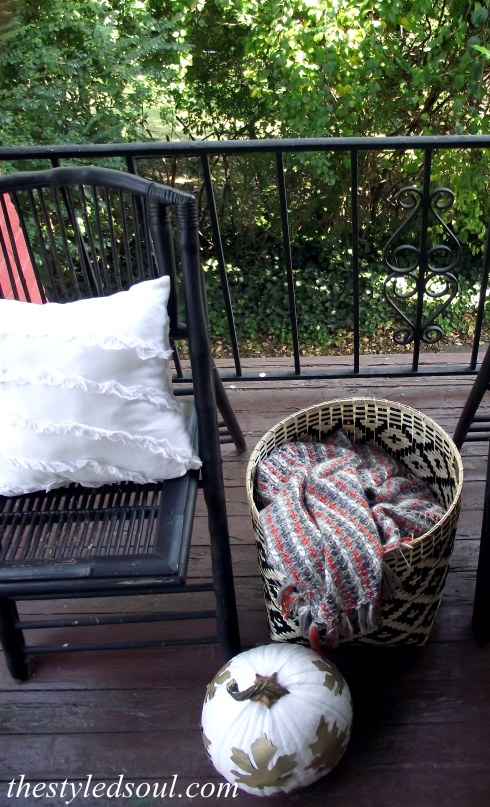
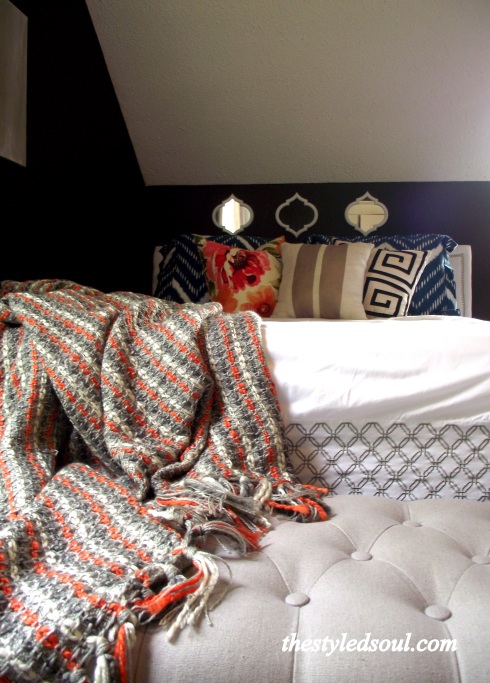
3. A cozy throw. Perfect to curl up in on a chilly night while reading a good book. I picked this one up at TJ Maxx. It’s soooo soft.

Cozy Fall Porch

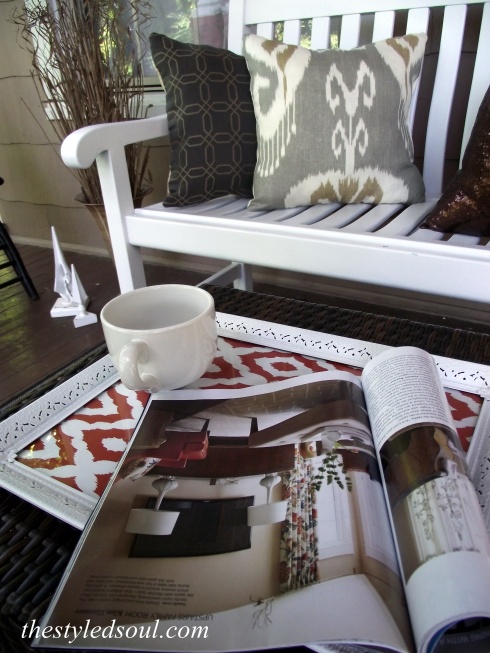
4. A tray. You have to have a spot for your coffee or hot chocolate. Or wine. ;) I made this tray from an old picture frame and pretty wrapping paper.

Tray for Fall Porch

Tray for Fall Porch

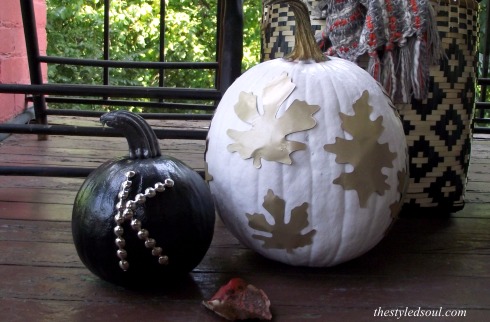
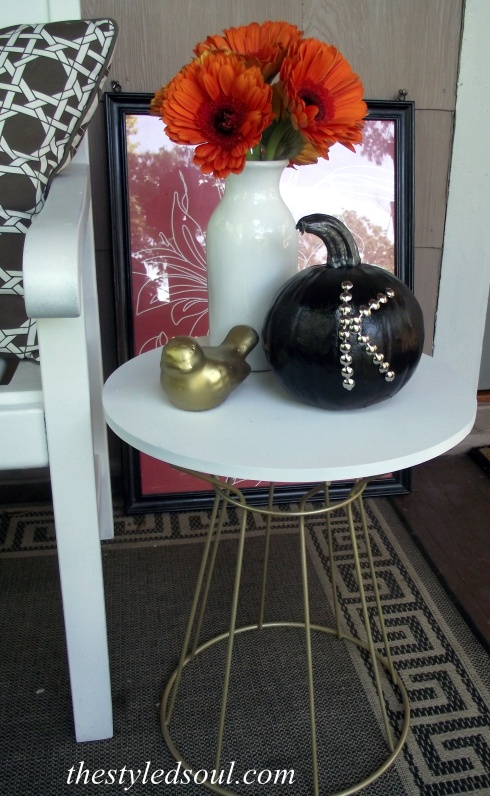
5. Pumpkins! Is there anything more fall than pumpkins? I could go crazy painting and decorating pumpkins but I limited myself to just two. I spray painted these then blinged them out a little. I added a monogram to the black one using nail trim. For the white one I spray painted the backs of some iron-on leaves and hot glued them to the pumpkin.

Painted PumpkinsPainted Pumpkin Fall Porch

Cozy Fall Porch

Cozy Fall Porch

So do you think I missed anything? So looking forward to hanging out on the porch as the nights get cooler! Happy Fall Ya’ll!!

Linking up at some great blogs this week. Hop over and check them out! Liz Marie Blog / A Stylish Interior / The Shabby Nest / Start at Home / Suburbs Mama / DIY Showoff / Rain on a Tin Roof / The Blissful Bee / The DIY Dreamer / Simply Designing with Ashley / One Project Closer
The Lettered Cottage

 photo name_zpse215d949.png

Bedroom Makeover: A Much Needed Change

22 Aug

Hey y’all! Hope you’re all having a great week. Mine has been a little rough. We had to say goodbye to our sweet little Lola. She was our furry baby and it was devastating to have to let her go. But I won’t dwell on that. I just want to say that we are so thankful to have been blessed with her in our lives and we SO appreciate all the kind words and prayers from everyone.

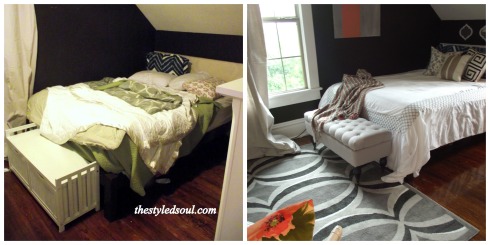
Anyway, I had been planning to give our bedroom a much needed freshening up and after what happened this week it seemed like the perfect time to just get in there and get it done. It was a GREAT distraction. There are still a few more things I want to do, like paint a white wall, add some artwork, and add a new light fixture and some accessories. But I did get a lot done and now it feels fresh and crisp. Exactly what we needed. 

Eclectic Bedroom Makeover

Coral Grey Indigo White Bedroom

Painted Bamboo Wicker Chair

Gold Painted Wicker Bamboo Chair

DIY Upholstered Headboard

Grey Bedroom RugLolaCheck out these before pictures.

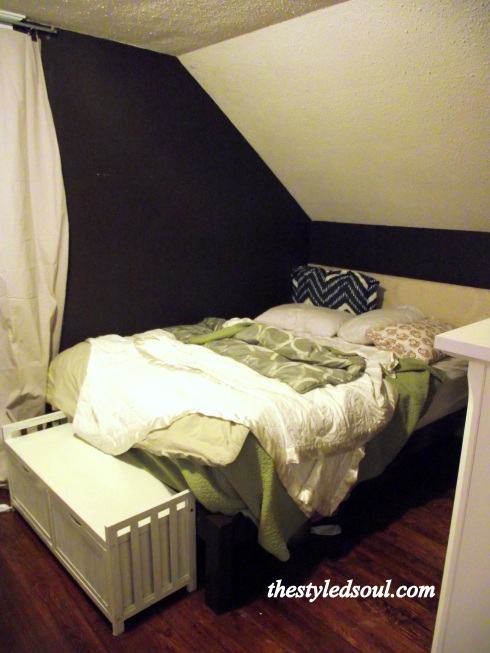
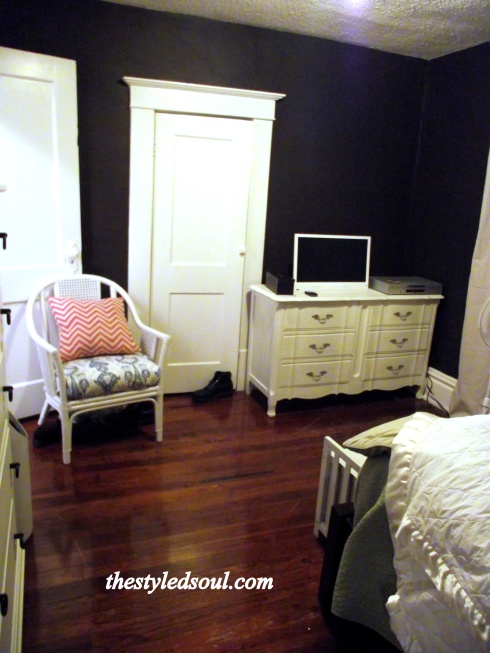
Bedroom Before

Bedroom Before

This is what I’ve done so far. 

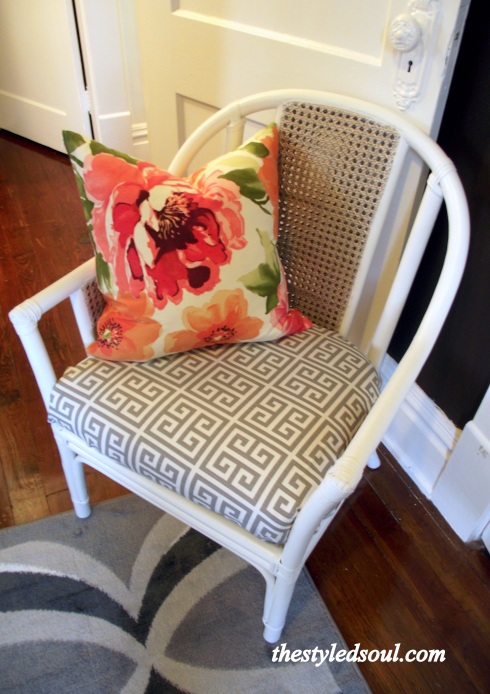
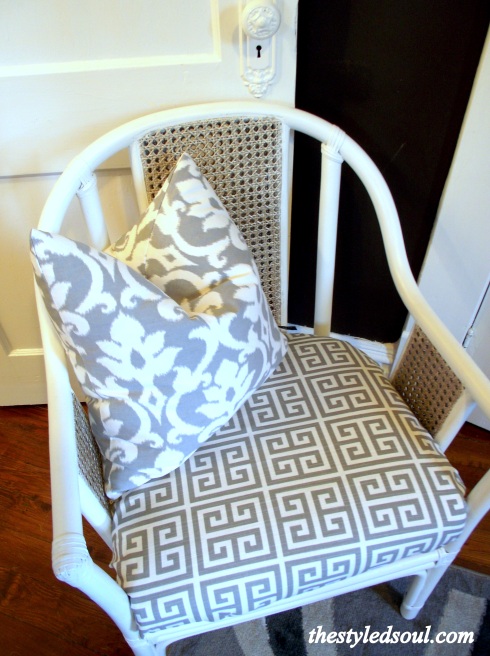
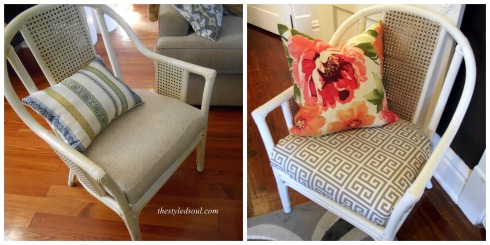
  • Painted the bamboo chair in white and gold. Covered the seat cushion in a grey/white greek key fabric. 
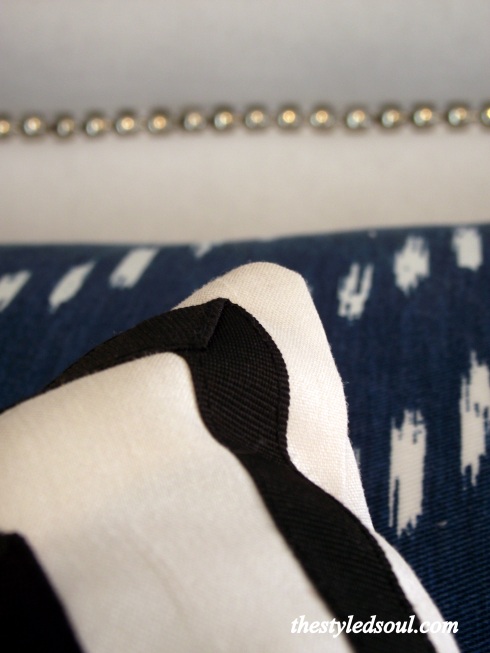
  • Reupholstered the headboard in a bright white fabric and added a nailhead trim. I used a table cloth from Target. 
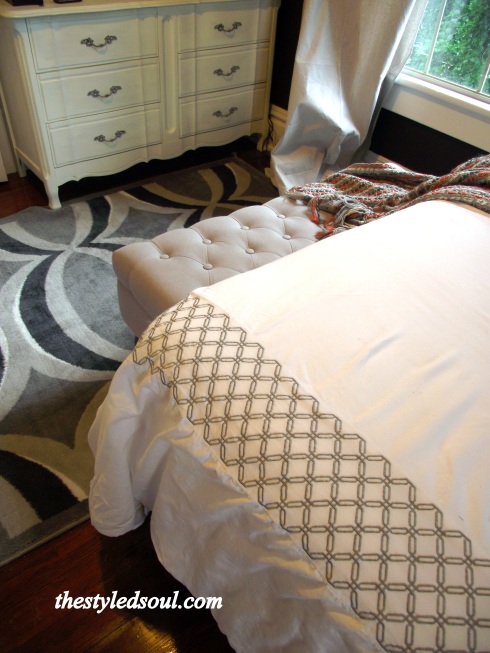
  • Replaced the wooden storage bench with an upholstered ottoman. 
  • Pulled the white duvet cover from the guest room and kept the Nate Berkus indigo pillow shams. (If you’ve been following for a while then you know I was determined to use some of that indigo blue bedding). 
  • Added one of my DIY Gold Painted Pillows along with some other new and old toss pillows. 
  • Added a new rug from Garden Ridge. 
  • Hung a set of mirrors above the bed. I found those at Target. I was trying to create the illusion of a taller headboard. 

Bamboo Wicker Chair Before and After

Bedroom Before and After

I totally believe that if you make your home a happier place you’ll be a happier person. That was pretty much the goal this week, to make our home a happy place to be.

Thanks so much for stopping by. Have a beautiful weekend!

 photo name_zpse215d949.png

Linking up to some fab linky parties this week.

Liz Marie Blog

If It’s Not Baroque

The Shabby Nest

Suburbs Mama

DIY Showoff

Rain on a Tin Roof

Homecoming

The Blissful Bee

A Stylish Interior

Southeastern Salvage

4 Jul

Just wanted to share a little about a place I love to go. It’s called Southeastern Salvage. They carry a mix of building materials, furniture, and accessories. Oh, and they have free popcorn.

 Even if I don’t buy  anything I always leave a happier person. You won’t find them in every city but if there is one near you, and you haven’t been, you need to check it out. You don’t get a lot of info on the website about what is actually in the store and that’s because the inventory changes a lot. So here is a SMALL sampling of the awesome things they have in stock right now, at the Chattanooga location.

 photo 40EE1CBD-456A-491A-B71C-00DBF9927C16-5194-000003219AB5F1C3_zps429689f7.jpg

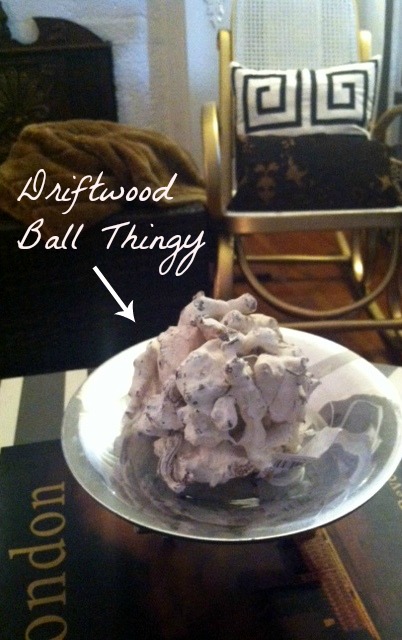
LOVING these Moroccan lanterns and decorative driftwood balls.

 photo 39A0F34A-5550-4581-84BF-0119CA5A73E2-5194-0000032171249C06_zps4ddb13c4.jpg

I’ll take anything tufted or with nail trim.

 photo D5325A3A-2875-4F3F-9996-02AE3209EC76-5194-00000321694F66C3_zps3581aa4e.jpg

Don’t even get me started on the Union Jack. I never get tired of seeing that in design.

 photo 76894DE0-28BF-4648-9FE9-4FF5131370AF-5194-0000032128CF0B24_zpsb3b5a867.jpg

Whitewash? Yes please!

 photo E6A5C553-49B7-4223-803F-66B03AC0D465-5194-000003214BF15DFB_zps927c636b.jpg

I feel like I NEED this leather sofa in my life but it would take up our ENTIRE living room.

 photo 97F26581-0D1C-41F1-9A18-C46B7D9B6BED-5194-0000032109542924_zpsaa2d5279.jpg

Cute pillows for $8.00! I mean, come on! How awesome is this stuff? The prices on most things are pretty good, especially the accessories.

driftwood ball

I bought this for $3.00.

I probably would have spent more time looking around (and getting better pictures) but I had to get this little bear to the vet.

 photo 83E0C3D5-D931-4A95-BDF4-3306B0E37C96-5194-0000032283793C4C_zps09bcf8cb.jpg

So go check it out and if you do let me know what kind of great goodies you find.

 photo name_zpse215d949.png

A Little Somethin’

15 Jun

I’ve had this chest for-e-ver. With my new motivation to finish our bedroom I decided it was time to give it a makeover.

DIY nail trim chest

This is what it used to look like.

BEFORE

DIY painted nightstand

painted nightstand before

I finally painted it. White. I know, nothing super exciting. After I painted it I was kinda like, that’s it?

It just needed a little something else. So I added some nail heads. Just on the corners. I used the singles that I had left over from my wine cabinet makeover.

NOW

DIY nailhead trim nightstand

DIY nailhead trim

DIY nail trim accents

DIY nail trim accent

DIY Nail Trim Accent

The top was pretty beat up and still looked a little rough after I painted it. It also has a lot of “worm holes”.  So I thought it would look kind of cool to add a modern element to a piece that has a “worn” and traditional look.

It was so easy. I just hammered each one in with a rubber mallot. I think that gave it a little extra oomph. Sometimes you just need a little extra somethin’.

Happy Weekend Everyone!!

 photo name2_zpsf5f56755.png

Rub ‘n Buff Rocks

17 Mar

Rub ‘n Buff is an excellent product. It’s easy to use, doesn’t create a mess, and results in an AWESOME finish. If you aren’t familiar with this gem of a product it is basically paint in a tube that is made with waxes, metallic powders and pigments. Just apply and buff.

This is why I think Rub ‘n Buff rocks.

Exhibit A.

before edit

edit5

edit

It took this piece of floral artwork from drab to fab. Looks much more crisp.

Exhibit B.

DSCF2196

DSCF2198

It made this yucky brass hardware go from boring to glam.

Exhibit C.

edit trim

Shiny new nailhead trim gets an aged and weathered look. Exactly what I wanted for a project in progress.

Even better is the selection. It comes in all of these finishes.

cce3d_B003DKZE5A_61Tu6dbAV8L

It’s available at most craft stores and at Amazon. There are so many things you can do with it.  So if you have ever thought about using it, do it! It will change your DIY life.