Archive | DIY RSS feed for this section

Thrift Store Art Makeover: Chic Horses

30 Aug

Hey there! Well this week I’m finally adding some artwork to our home that I’ve been thinking about for the longest. This is proof that pretty artwork doesn’t have to be expensive. For me, it just required a little patience. 

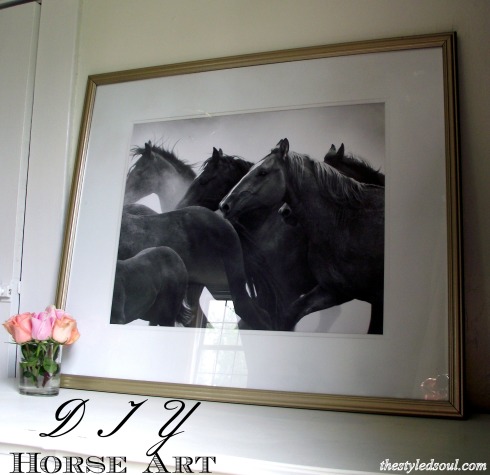
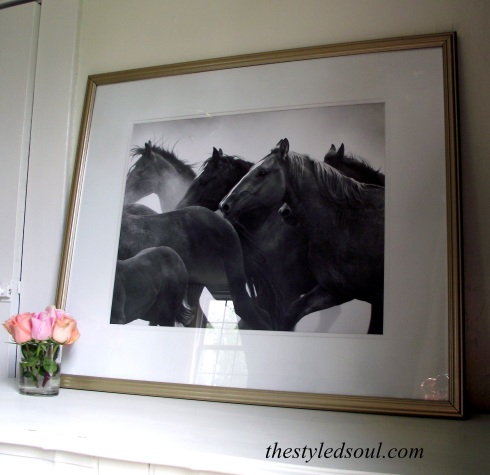
DIY Horse Art

 After weeks of searching I found what I needed.

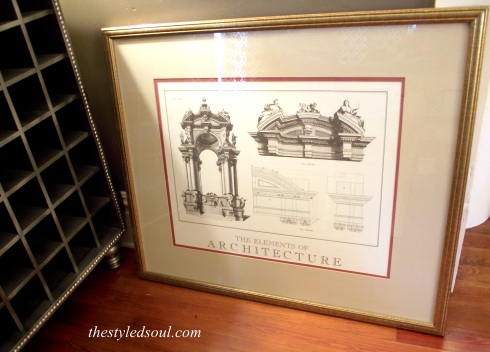
thrift store frame

1. I had to find the perfect frame. I picked this up at a thrift store for $10.00. 


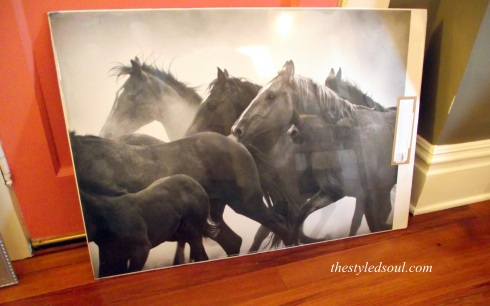
Horse Poster from Hobby Lobby

2. I had to find the perfect horse print. I’ve seen many photos and paintings of horses but this one just spoke to me. Ya know what I mean? I found this at Hobby Lobby. With their weekly 40% off coupon it only cost around $18.00.


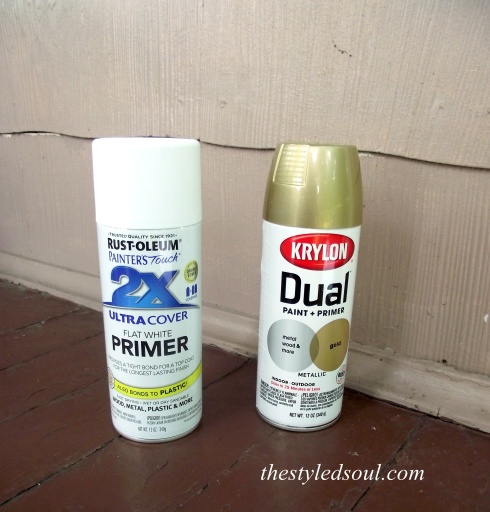
Gold and White Spray Paint

3. I wanted it framed in gold and matted in white. (The frame was already gold but was kind of dated, in a faux finish.)  I picked up these spray paints for less than $10.00. Gold for the frame and white for the mat board.

Before

thrift store frame

After

DIY Horse Art

Less than $40.00 for a large, matted and framed print. Not bad! These guys are getting a home above the fireplace in the living room. I’ll have more pics for you once I get it in place.

Linking up at some great linky parties this week!

Liz Marie Blog

Suburbs Mama

Start at Home

DIY Showoff

Rain On a Tin Roof

Love Grows Wild

The Blissful Bee

A Stylish Interior

 photo name_zpse215d949.png

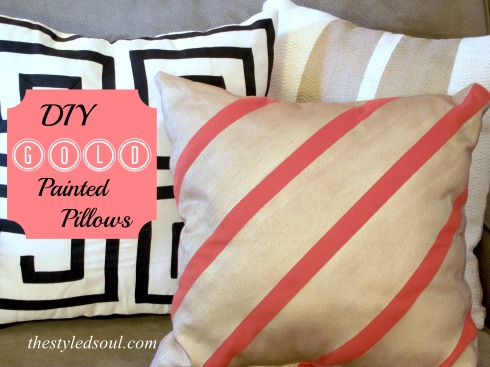
DIY Gold Painted Pillows

2 Aug

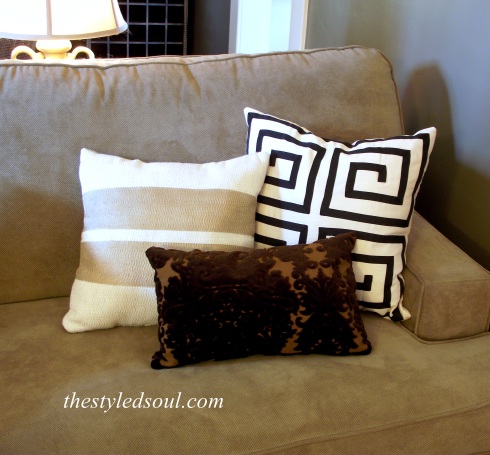
I have a quick project to share with you today. It’s really easy and can be done in an afternoon. diy gold painted pillows

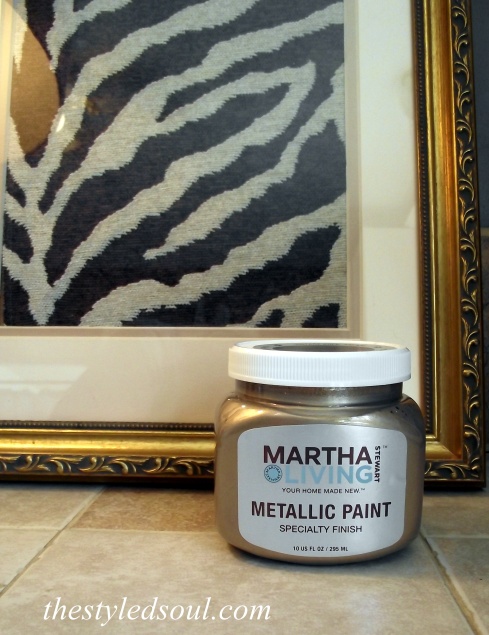
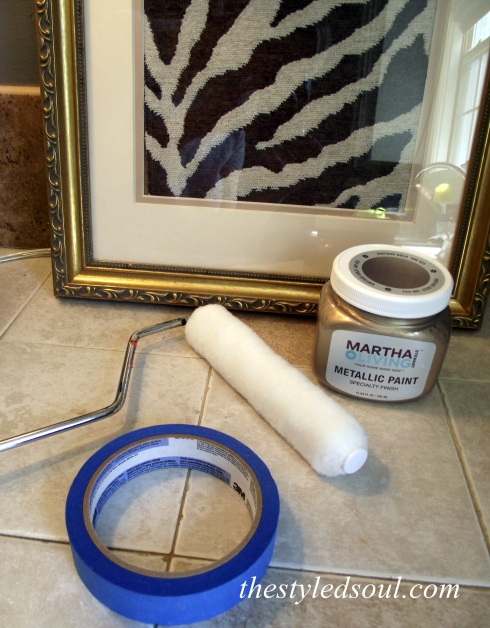
If you have some pillows you want to jazz up then this is for you. Martha Stewart Metallic Paint. Every time I went to Home Depot I would eyeball this paint. I don’t know what took me so long but I finally bought some.

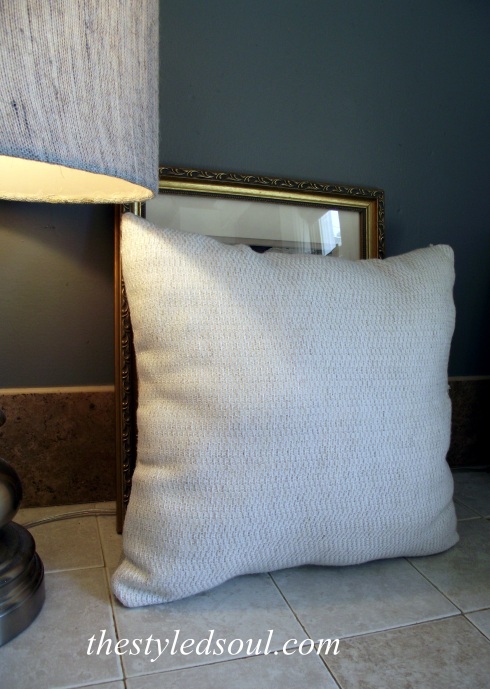
Martha Stewart Gold PaintThere are about a hundred things I wanted to use this paint on but I decided to start with these plain toss pillows I made a while ago. They were nothing special. I had simply sewn together some old fabric swatches I had lying around. They are so much better now.

This is what I started with.

Martha Stewart Gold Paint

DIY painted pillow

DIY painted pillow

Yeah they are FAR from perfect but keep in mind sewing is “not mah thang”.

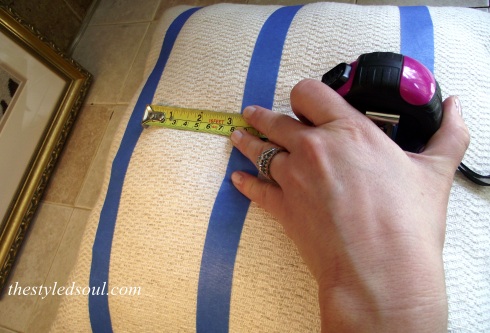
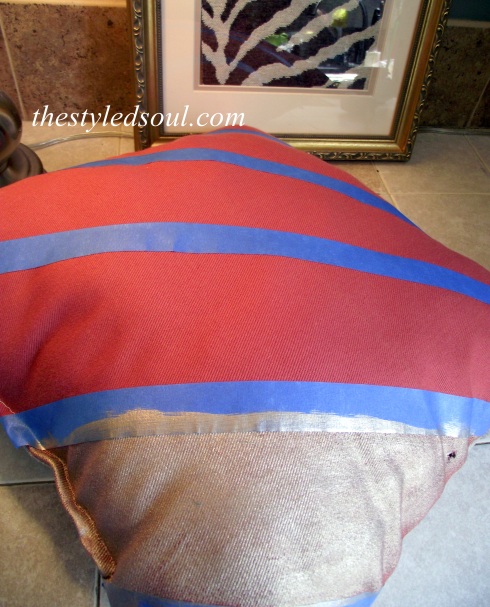
I taped off the first pillow so that I would end up with two bold stripes through the center of the pillow. I measured about 3 1/2″ between the strips of tape.

DIY painted pillows

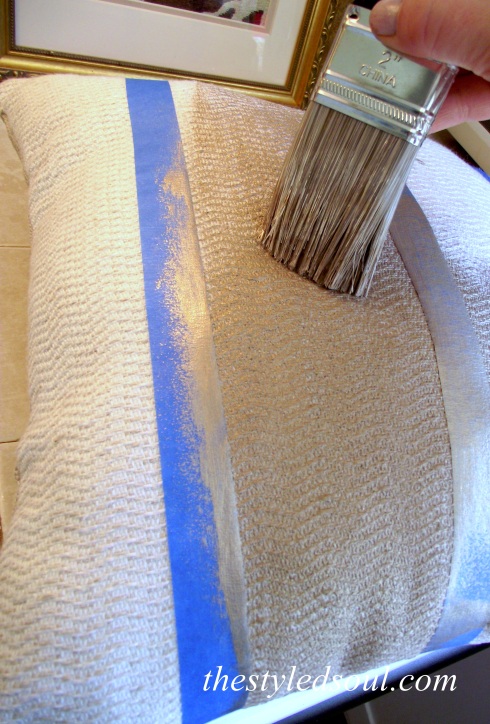
Once I started painting I quickly realized it would work much better with a paint brush.

DIY gold painted pillow

The fabric is textured so it was easier to get the paint to stick in all the grooves with a brush.

A couple of things I learned about painting fabric. 

  • Paint on top of and away from the tape. Not toward it. It felt like the paint would easily slide under the tape.
  • Don’t put a lot of paint on the brush but saturate the fabric really well so you only have to apply one coat.

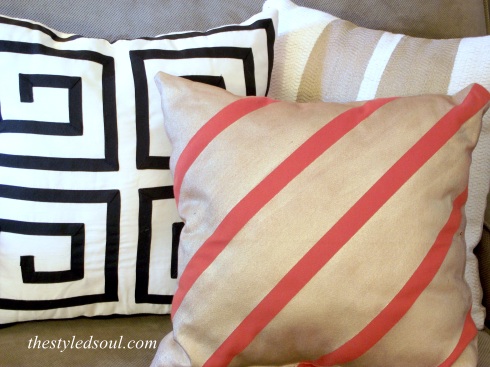
For the second pillow I wanted a diagonal pattern so I placed the tape in diagonal strips about 3″ apart.

DIY gold painted pillow

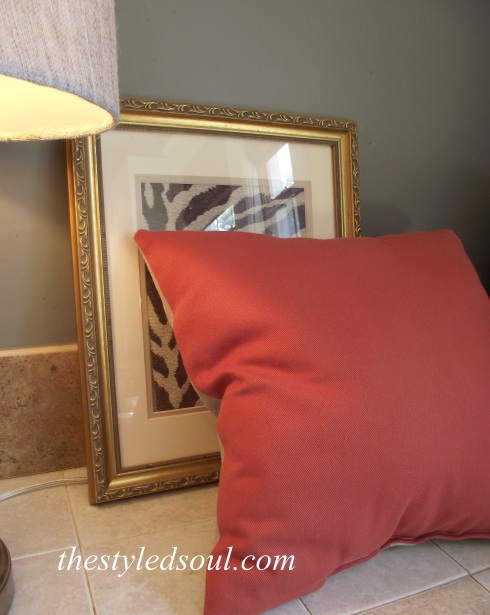
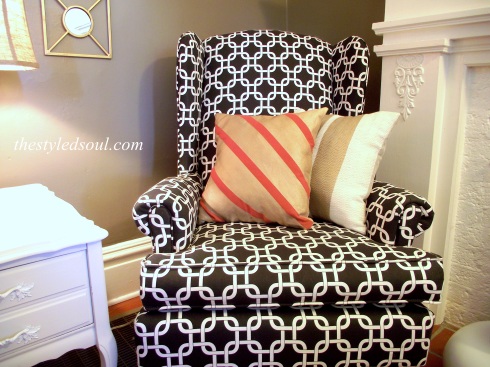
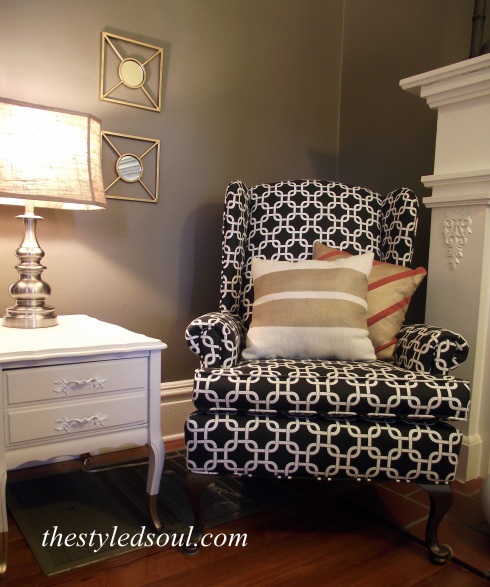
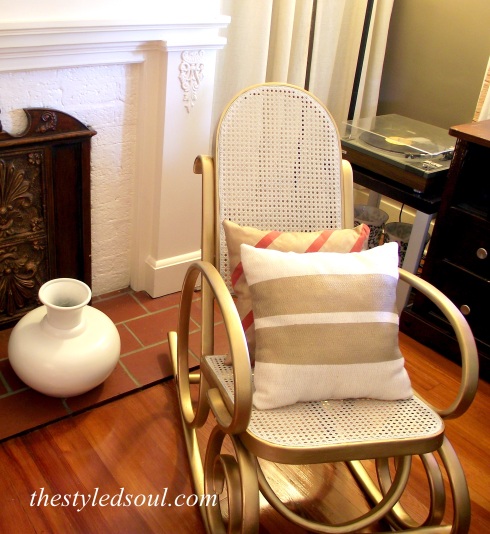
This is how they turned out.

diy gold painted pillows

diy gold painted pillowsdiy gold painted pillowsdiy gold painted pillowsdiy gold painted pillows

This was so easy. Seriously, it only took a couple of hours including dry time. I LOVE this paint. Thanks Martha! I can’t wait to try it on some other things. Until now, painting something gold required spray painting which meant if it was raining I could forget it. Oh, and it’s kind of hard to tell in the photos but it has a GORGEOUS metallic sheen and it isn’t as deep of a gold that you get from most spray paints. LOVE!

I’m still playing around with where I want to keep the pillows but for now they look pretty good in the living room. Oh, and I now have new inspiration to refinish our dining chairs. Maybe I can get to that soon….

So have you ever painted fabric? Share!!

This is where I’ll be linking up this week. Come check it out!

Liz Marie Blog

Suburbs Mama

DIY Showoff

Give Me the Goods Monday @ Rain On a Tin Roof

If It’s Not Baroque

The Blissful Bee

Home Coming


 photo name_zpse215d949.png

Small Space Solution: DIY Industrial Shelves

7 Jun

DIY Industrial Shelves

I love our home. It’s old and has lots of old house charm but it’s also small and storage space is limited. Because of this I have always struggled with keeping things organized in the kitchen.

After I started painting the refrigerator I started thinking about ways I could make better use of the space next to it. I decided I wanted something taller and with shelves. This would allow us to keep the coffee makers where they are (which frees up counter space) and also give us more storage.

I found this at World Market for $89.99.

wmshelf

I love the looks of it but it just wasn’t big enough. After a little more searching I just couldn’t find anything I wanted in my price range so I decided to make one using the World Market piece as my inspiration.

I found this at Home Depot.
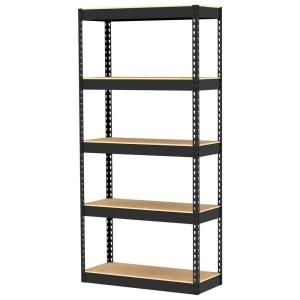
Gorilla Rack

Gorilla Rack Free Standing Storage Unit

The metal is almost exactly the same as the World Market piece which is one reason I chose it. The second great thing about it is that it’s the perfect size for my space and third it claims to hold 250 lbs per shelf.

The makeover was really pretty easy. Spray paint my friends, spray paint. I went with a metallic silver finish because I thought it would look good next to the freshly painted black refrigerator (which is almost finished). I used a combination of the following three spray paints.

  1. Brushed Nickel by Valspar
  2. Dull Aluminum  by Krylon
  3. Hammered Metal by Krylon

I gave it one coat of the brushed nickel followed by a coat of the dull aluminum. Then I randomly sprayed sections of it with the hammered metal. I wanted it to have dimension and look a little less new.

I didn’t want to use the particle board shelves that came with it. I wanted actual wood shelves. So I took one of the shelves to Lowe’s and picked out the type of wood I wanted from the Lumber Isle. Then I just gave the very nice wood cutter guy the particle board shelf  and asked him to make the boards the same size.
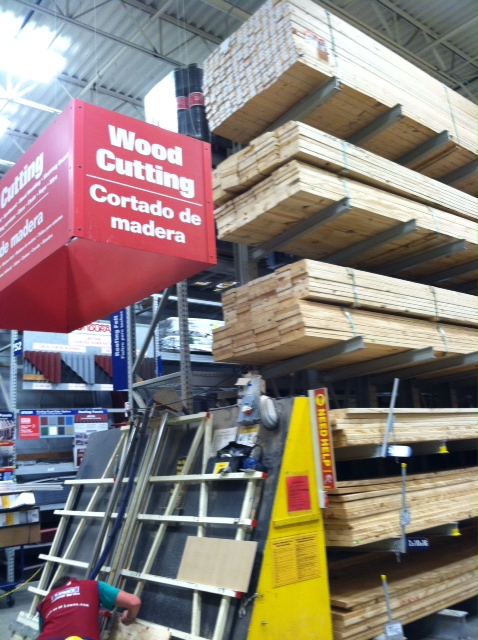
lowes

I love the people that work at Lowe’s!

I chose paint grade pine. I knew it would give me the look I was going for. So I sanded them down and stained them with one coat of vinegar soaked in steel wool then I stained them with a layer of Min-wax in Dark Walnut.

DIY Industrial Shelves

I used the scraps of  wood that were left over when they were cut to test the stains first. Always keeps the scraps so you use them for testing when using a new paint or stain.

I decided I liked the richness of the stain over the vinegar. Now if you are going to be using anything that could get these boards wet, like coffee makers,  then you will want to apply a polyurethane. I recommend Rust-Oleum Polyurethane  in matte finish. It protects the wood really well without any shine.

I let the boards dry overnight before I put anything on them.

DIY Industrial Shelves

DIY Industrial Shelves

DIY Industrial Shelves

DIY Industrial Shelves

DIY Industrial ShelvesDIY Industrial Shelves

After buying everything I needed for this shelving unit I still spent less than I would have on the piece from World Market. Plus it’s bigger and it’s the exact color that I wanted.

If you want to do something like this for your own home you can usually find these shelving units at Home Depot and Lowe’s in various sizes and styles. Home Depot offered free shipping to their store which was perfect for me. You could possibly find these on Amazon as well.

So what do you think? Would you use something like this in your kitchen or do you prefer that everything be hidden?

Have a great weekend everyone and Happy DIYing!!!

These are the fabulous blogs I’m linking up at this week.

GrabButtonLiz

TDC Before and After


Pinterest Adventures: DIY Picture Frame Trays

18 May

Do you ever come across something on Pinterest and think to yourself, “That seems so obvious. Why didn’t I think of that”? Well I had one of those moments when I found a pin for a DIY tray.

DIY picture frame tray

I love trays!! They make things look instantly pulled together and are great for collecting all those little things that tend to gather on counters and dressers and basically make me nuts. I like for things to have a home. Well trays are like rentals for things that don’t have a permanent place to live. I guess that sounds kind of weird. Ha!  Ok, anyway.

Tray

myhomelookbook.com

Like I said before,  I found this (above) on Pinterest. It links to a website called myhomelookbook.com. No tutorials, but you really don’t need one. All you need are some picture frames, fabric scraps and spray paint.

If you don’t already have those things they are super easy to find. They’re also cheap, so that’s a bonus. You can pick up some old frames at thrift stores and leftover remnants of pretty fabric at most fabric stores. You could really use fabric from anything. An old shower curtain, a shirt you don’t wear anymore, a pillowcase, whatever.  You could also use scrapbook paper which comes in tons of pretty patterns and colors.

Before

DIY Tray

After

DIY picture frame tray

I made one for the bedroom too. I used this frame.

DIY tray

To make this tray.

DIY picture frame tray

DIY picture frame tray

What I love most about these is that if you get tired of the fabric you can just change it. And they could be used as artwork.

DIY picture frame tray

I will definitely be making some more of these. There are just so many possibilities!! Finally, I have a use for all those fabric remnants I’ve been hoarding. So am I the last person on earth to try this?

Thanks so much to anyone and everyone who stops by to visit my little corner of the web!

Happy Weekend!

Stephanie

Painted Refrigerator in Progress

12 Apr

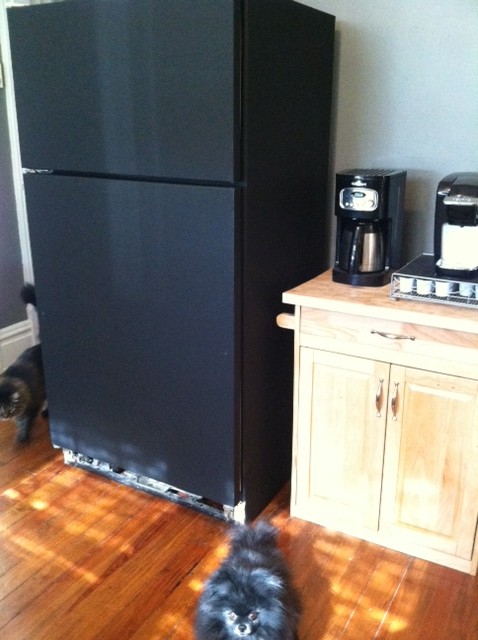
I finally did it. I painted the refrigerator. Well, I started painting it. I’ve been thinking about doing this for a long time. Our refrigerator is oooold, which is fine actually because it still works. You know what they say, if it ain’t broke…but what was NOT working was the color.

It was a “lovely” shade of almond bisque. Not my favorite shade. Still, it wasn’t so bad until we updated the kitchen with a dishwasher (which is stainless) and replaced the oven when it stopped working (which is stainless and black). This made the refrigerator stick out like a sore thumb. Honestly, this whole area just needed to be cleaned up and decluttered.

DSCF3161a

So I finally decided to go for it. I will admit I was a little nervous but after the second coat I was thrilled!  This is how it looks halfway done.

photo 4 (3)

Even the furry babies love it!  I’ll spill all the details when I’m finished but I was just so happy with the progress I couldn’t wait to share it!!

Happy Weekend!!

sig1

Rub ‘n Buff Rocks

17 Mar

Rub ‘n Buff is an excellent product. It’s easy to use, doesn’t create a mess, and results in an AWESOME finish. If you aren’t familiar with this gem of a product it is basically paint in a tube that is made with waxes, metallic powders and pigments. Just apply and buff.

This is why I think Rub ‘n Buff rocks.

Exhibit A.

before edit

edit5

edit

It took this piece of floral artwork from drab to fab. Looks much more crisp.

Exhibit B.

DSCF2196

DSCF2198

It made this yucky brass hardware go from boring to glam.

Exhibit C.

edit trim

Shiny new nailhead trim gets an aged and weathered look. Exactly what I wanted for a project in progress.

Even better is the selection. It comes in all of these finishes.

cce3d_B003DKZE5A_61Tu6dbAV8L

It’s available at most craft stores and at Amazon. There are so many things you can do with it.  So if you have ever thought about using it, do it! It will change your DIY life.

Pinterest Adventures: Dog Beds

31 Jan

I’ve been using Pinterest a lot lately. There are so many beautiful pictures and great ideas to be found! Sometimes I pin things and sometimes I don’t, even if I love it. I try to pin things only if it’s something I know I want to try or if it inspires me in a major way. Many things I have pinned and forgotten about but there are many things that I have actually tried. A lot of them have been successful and some others not so much. Anyway, I thought I would share some of my Pinterest adventures here.

DSCF4184

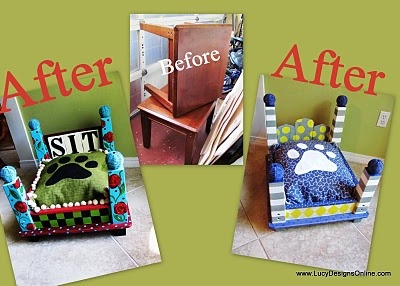
Anyone that knows me well knows about Lola. With itty bitty legs, she’s unable to hop up on onto anything so she spends a lot of time on the floor when we aren’t home.  So I’m always on the lookout for cute dog beds that she can hang out in rather than the hardwood floor. Imagine my excitement when I found this tutorial on Pinterest  on how to turn an old side table into a four- post dog bed!

0a08c6806fd22f2900ca381670404344

The original source is lucydesignsonline.com.

DSCF2367

This is the table I used to make the bed.

Well actually, I used one that looks just like this. We had two of them. This one is still a nightstand.

I took the top shelf off and painted it with a sample of paint I already had. Then I sewed the cushion for the bed using leftover fabric from the headboard in our bedroom. All that was left was to sew some cute little pillows using fabric scraps.

DSCF4184

DSCF3822

A free custom dog bed. This is why I love Pinterest!

So do you use the things you pin? Show them off! Post a link in the comments below. Come on, you know you want to.

sig1

Finished! DIY Christmas Decor

21 Dec

Well here we are. Just FOUR days until Christmas!! I am feelin’ the Christmas spirit like nobody’s business. I have been knee-deep in wrapping paper and DIY decor. I have finished decorating, shopping and (almost) wrapping. I even got Christmas cards sent out this year.

card

I had this made at cardstore.com and got a GREAT deal. Just a little FYI.

Like I told you last time I wanted to do a lot of handmade decorating this year. My goal was to use what we have and spend very little money. Well the only thing I ended up spending on was the tree, a few ornaments and miscellaneous items at a thrift store,  and ribbon. Everything else we already had or I took from the yard.

So you’ve already seen the mantle when I posted my DIY stockings but you probably didn’t see the leaves that I spray painted silver or the branches that I spray painted white and covered in white glitter. The greenery in the vases were pulled from the base of our Christmas tree (we had to remove some anyway to fit it in the stand) and the vases are from our wedding. Two of the candlesticks were purchased at a thrift store and everything else we already had.

DSCN1333

DSCN1563

DSCN1566

These little guys used to be green and yellow. I simply spray painted them white then filled the larger one with more branches from the bottom of the tree. Then I added these swirly floral accents and pearly floral accents I bought a few years ago at Hobby Lobby. I decided to leave the other one empty.

DSCN1552

DSCF4868

Vases before.

I also had this gold tray that I had spray painted silver a while back. I thought it would be perfect to turn into a holiday centerpiece. So I filled a candle holder with silver and gold ornaments, tied together a grouping of white ornaments and  clear ones that are stuffed with white feathers and scattered it around the little beige vase and put a couple of feathers in that. The white wood accents are pulled from the dining room (that I still haven’t finished).

DSCN1510

DSCN0714

Tray before.

This one is my favorite. This is our sassy little kitchen tree. I got this tree a couple of years ago for $5.00! The base is wrapped with sheers from Ikea and the little reindeer underneath were purchased at a thrift store for $1.39 for the pair. The ornaments are from a thrift store and I bought the ribbon at Hobby Lobby when it was half price.

DSCN1445

So now that I’m finished, and still have a few days before Christmas to enjoy it, I might actually try to do some holiday baking. I’ll let you know how it turns out.

DSCN1533

DSCN1454

DSCN1545

May your holidays be filled with love, peace and blessings!

Merry Christmas to you and yours!

sig1

Simple DIY Christmas Stockings

7 Dec

Hey there! It’s been a while but I’m back. I have been busy going through some old Christmas decorations and picking up some new ones. I’m trying to incorporate some handmade decorations this year.

My first handmade project is Christmas stockings. I haven’t used stockings in a couple of years because I haven’t been able to find any I LOVED in my price range. Well, after looking through a book a friend had loaned me, I finally got the idea to just make my own. (duh). I have tons of fabric scraps lying around and many of them just so happen to be perfect for my theme this year.

Here they are!

DSCN1328

Let me begin by clarifying something. I’m pretty bad at sewing. I have tried and tried but I’m just not that good at it. One day I will take a class and learn how to cord pillows and do all kinds of other fancy stuff but for now I’m happy with being able to make a simple stitch. My point is, that’s all you really need to know in order to make your own stockings.

This is what you need to do.

First, use fabric that you love! It doesn’t have to be red and green just because it’s Christmas! I’m really into black and white lately and I’m also really into metallics. So that’s how I came up with my theme for this year. I went through my stock pile of fabric remnants and came up with these.

Then I dug out an ooooold stocking to use as my pattern. I just placed it on top of a fabric I didn’t really like (so it wouldn’t matter if I messed up) then traced it with a sharpie.

Once I had the pattern drawn I cut it with fabric scissors. Then I placed it on top of THE BACK of each fabric I wanted to use as the front of my stockings and traced then cut, one by one. Since I only had enough of the patterned fabrics for the front of the stockings I chose a neutral fabric for the backs and traced and cut these one by one. This won’t really matter since you won’t see the back anyway and it’s a good way to cut your cost if you are buying fabric to make stockings.

Ok, now comes the fun part. (I’m using the term “fun” loosely here). Place the fabrics FACE TO FACE. Now you should really pin the fabric together but since I am the most impatient person in the world I never do this. I jump right into sewing, holding the fabric together as I go.

DSCN1258

Once you’ve sewn all the way around (except across the top) just turn them inside out. Now I wanted to make this as easy as possible. So to give the top a finished look I simply hot glued the top of the inside, folded it in and pressed it until it dried. Then I cut a small strip of fabric for each stocking, made a loop and hot glued those one by one onto each stocking.

I know they aren’t perfect but I really just wanted some basic, simple, pretty stockings.  I also decided I had to put our new black and white chair by the fireplace and it looks so much better over there. What do you think?

DSCN1328 DSCN1331

DSCN1338

Be back soon!

sig1