Archive | Before and After RSS feed for this section

Spray Paint & Fun Days

25 Oct

So I had some big plans for my off days this week that involved lots and lots of paint. But as it turns out, this weather is just too good and my hubby has the day off work. So we decided to spend the day with our new little guy Brady.

Brady

We adopted him recently from the local Humane Society and he is the best little guy. So we’re gonna go roam around in the Bronco, play at the park and just generally enjoy a rare day off together. Life’s just too short, ya know? So I just have a quick before and after to share this week. I’ll get to the big stuff next week. 

Before 

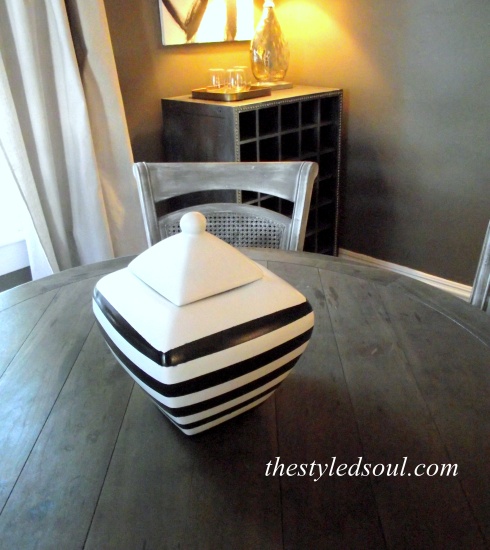
jar before

After

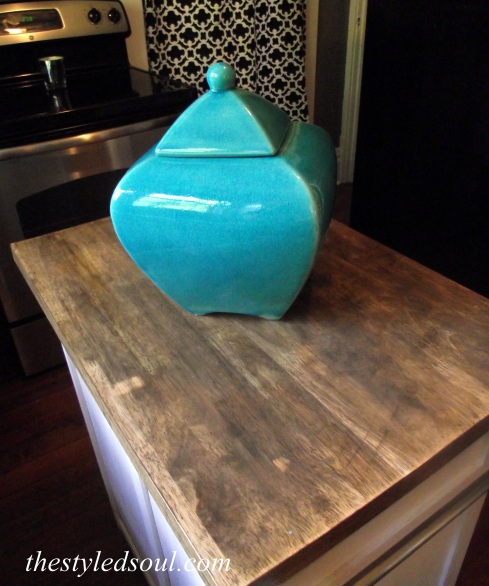
jar after

This is why I love spray paint! And painters tape. Have a beautiful weekend!

stephanie

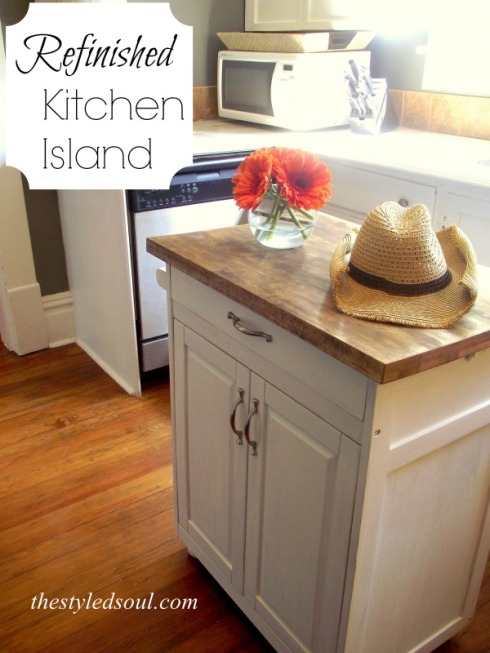
Refinished Kitchen Island

13 Oct

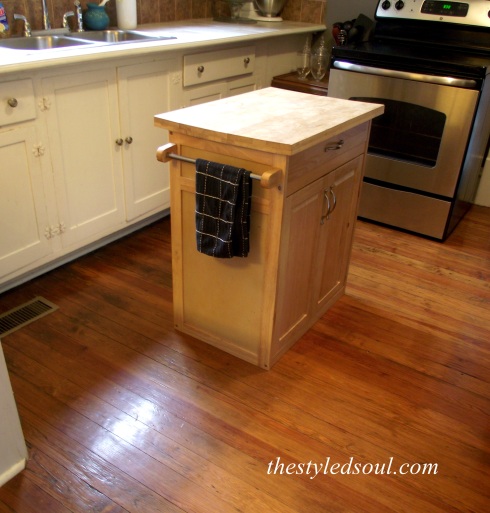
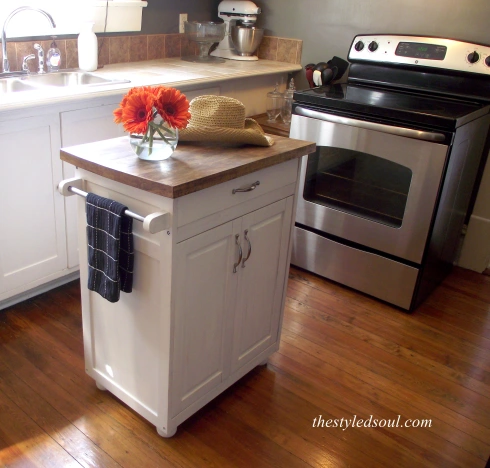
If you’re a DIYer, and you’re anything like me, then you have some unfinished projects around your house. I have about a gazillion. Well, this awesome fall weather we’re having has inspired me to finish up some of these projects. First on the list? Painting and staining this island. 

Refinished Kitchen Island

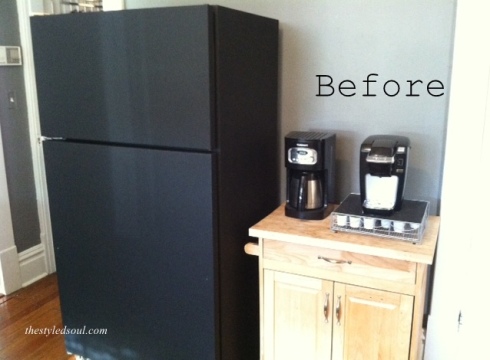
frig beforea

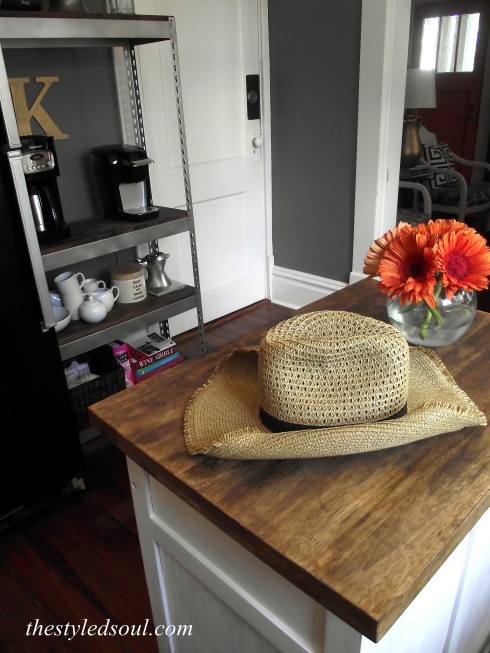
It used to house our coffee machines before I added the industrial shelving unit. Once I did that I decided to use this piece as an island. And I’m still working on painting that refrigerator. (Remember all those unfinished projects I was talking about?)

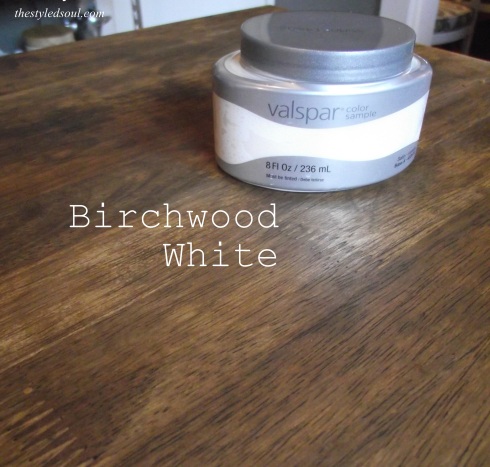
Birchwood White

This little makeover was pretty simple. I used some white paint and sandpaper for the base. Birchwood white by Valspar for the first coat  and bright white mystery paint from my basement for the second coat. By the way, this was a free sample of paint. Always check your decorating magazines for a coupon from Lowe’s. Eight ounces of free paint? Yes please.  

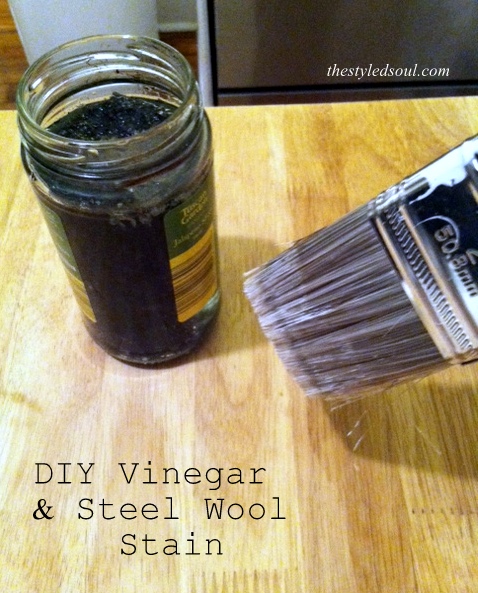
DIY Vinegar Stain

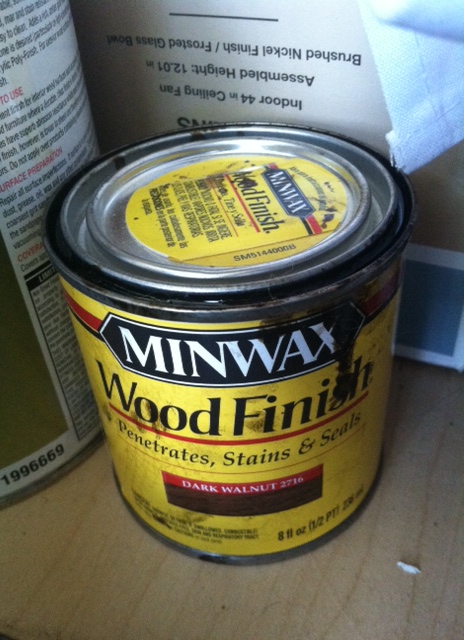
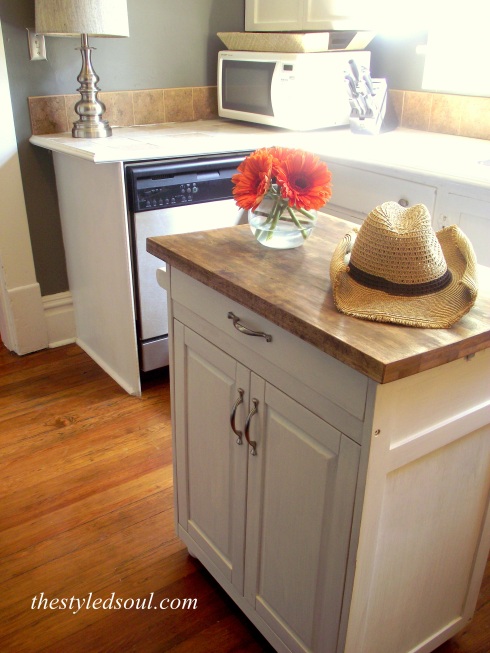
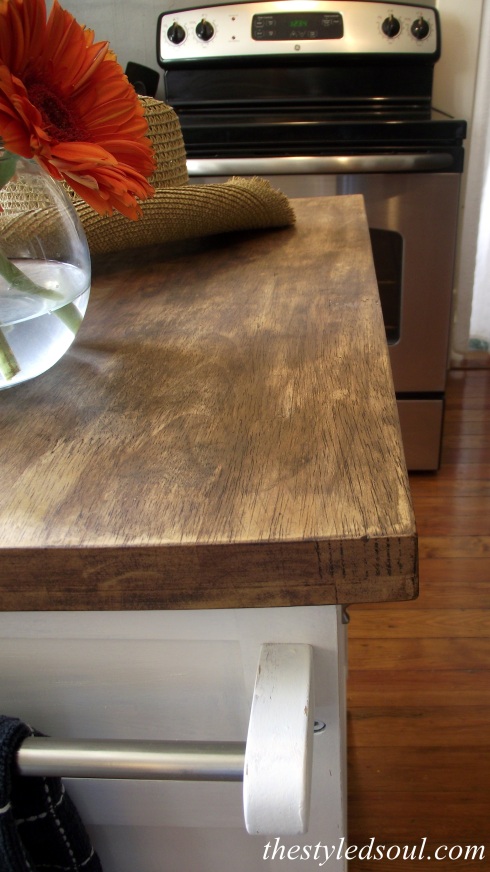
For the top I used a DIY vinegar stain followed by a Minwax stain in Dark Walnut. You can read more about the vinegar stain here. It creates a great ashy finish. 

minwaxdarkwalnut

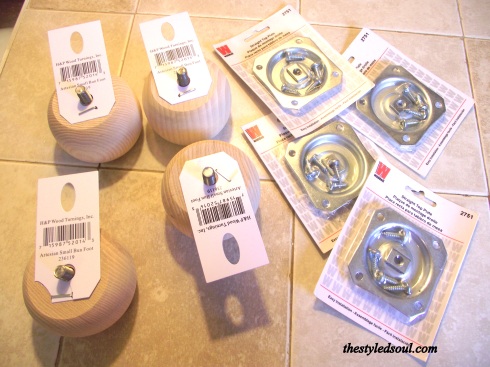
Then I added some simple bun feet using straight top plates.

furniture feet and straight top plates

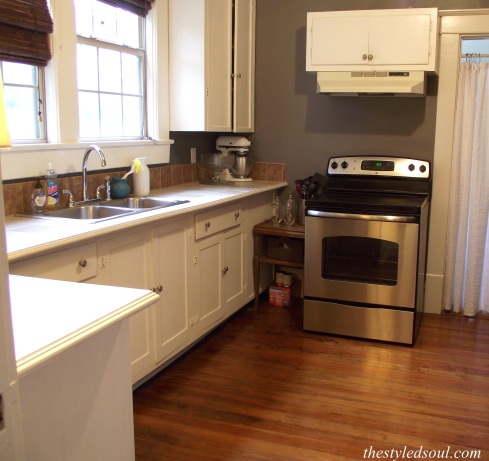
Before

kitchen island before

After

kitchen island makeover after

No Island

kitchen makeover

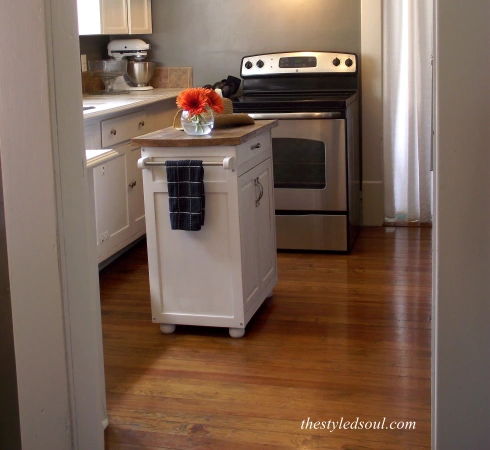
Island

painted kitchen islandKitchen island makeoverpainted kitchen islandsteel wool and vinegar stain for island

I always thought our kitchen was too small for an island but it actually makes it so much more functional because it gives us more counter space to work with. It’s a small change but it makes a big difference. So that’s one thing I can cross off the list! What’s on your list of unfinished projects?

Linking up at some great linky parties this week. Liz Marie Blog / DIY Showoff / Rain on a Tin Roof / The Shabby Nest  / Suburbs Mama / Domestically Speaking / Start at Home

stephanie

Coastal Eclectic Bedroom Chair

4 Oct

It’s so hard to leave the beach. If you follow me on Instagram then you know we just spent a week at the beach doing absolutely nothing. And it was awesome. This was my view pretty much everyday. 

Miramar Beach


It’s kinda hard to get back into the groove of reality but at the same time it’s really good to be home. Anyway, we did a little thrifting while we were there. I love thrift shops in beach towns, they always have the best stuff. While I didn’t bring anything home with me I did remember that I never really shared the makeover of the chair I bought last year at the beach.

 Yep, LAST year. And it was only 20 bucks.I bought it not knowing exactly where I wanted to use it but I knew at some point it would be perfect somewhere. How’s that for vague? This is what it looked like when I bought it. 
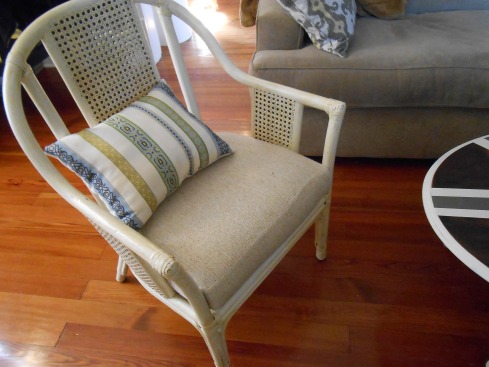
wicker chair before

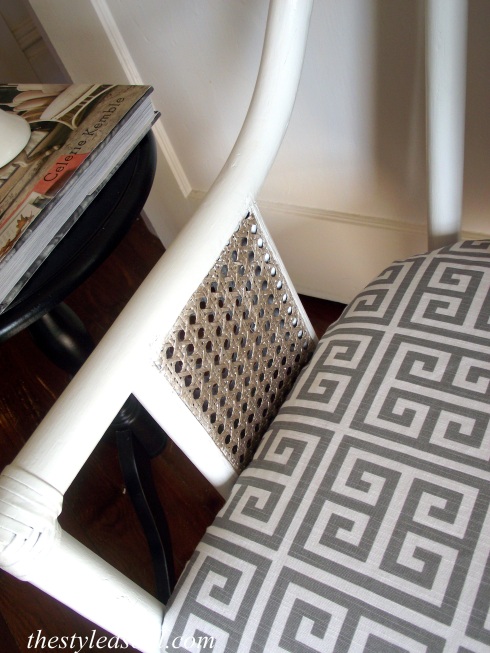
It was a little dirty and a lot blah. It was in great shape though and it’s really comfy.Once I gave our bedroom a little makeover I knew  exactly what to do with the chair.I started by spray painting it white but I knew it needed something else. So I broke out my favorite Purdy brand paint brush to paint the wicker.
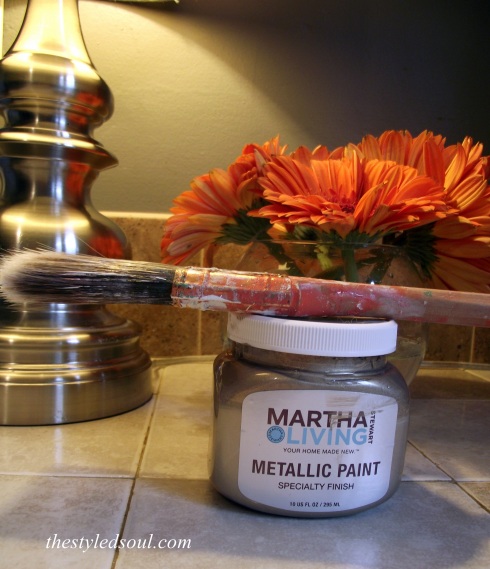
martha stewart gold paint

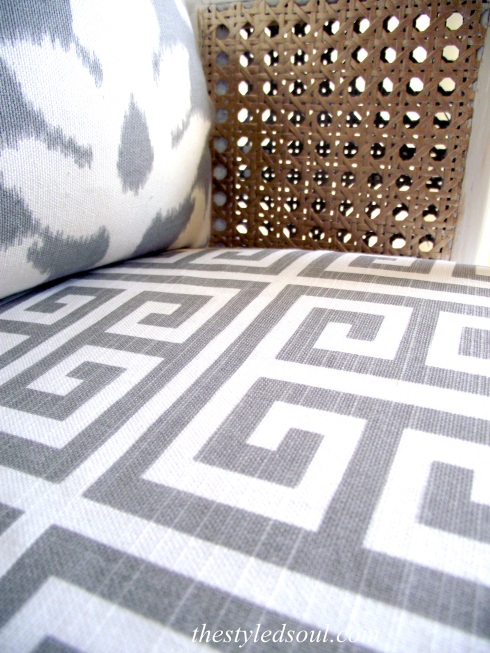
I painted it with this  Martha Stewart Specialty paint in Vintage Gold. This is absolutely one of my favorite gold paints. It has the best shimmery gold finish. 
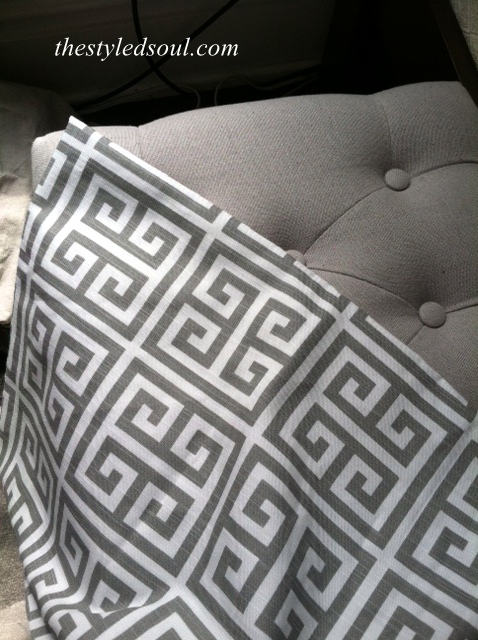
greek key fabric

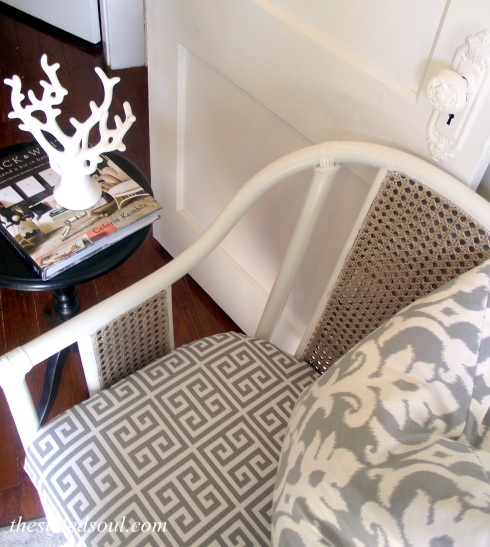
Then I recovered the cushion in this greek key fabric. I found it on the remnant table at Hancock Fabrics. I geeked out a little bit right there in the store when I found it. It’s pretty rare to find something this fab so cheap. They sell remnants for around $5.00-$6.00 per yard.  I got about four yards so you’ll be seeing this fabric again.

Then I went back and forth with these two pillows.

I decided I like the grey one best. I love the mix of the patterns in the neutral tones and I especially love it against the shimmery metallic paint.
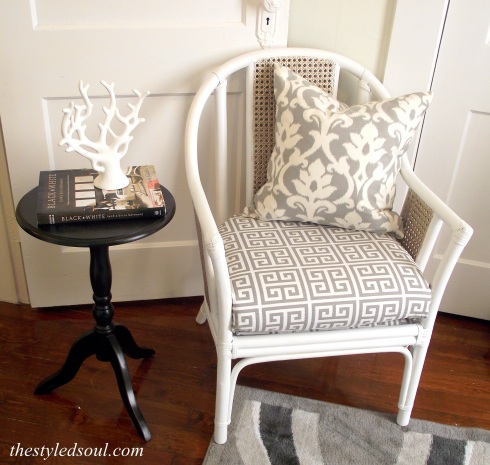
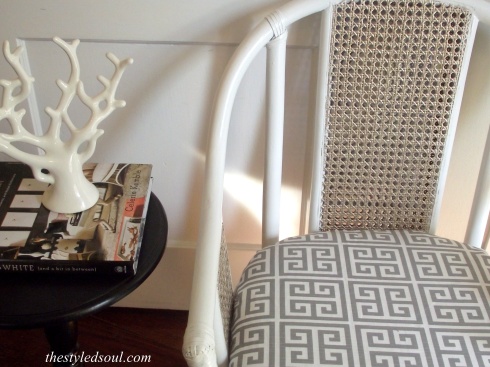
Wicker Bamboo CHair

Wicker Chair painted Gold and White

Wicker chair with greek key fabric

Wicker gold greek key ikat

wicker bamboo chair

So it only took a year but it did finally get a makeover. Sometimes that’s how long it takes to get something right. It took me the longest to decide what to call this chair but I think it’s kinda coastal and kinda eclectic. So there ya go. You may have noticed I started painting the bedroom. No more Bittersweet Chocolate!  I can’t wait to get it finished so I can show you how much better it looks. And cross it off my list….

This is where you will find me linking up this week. Liz Marie Blog / The Shabby Nest / Suburbs Mama / Rain on a Tin Roof / The Blissful Bee / The DIY Dreamer

stephanie

Wing Back Update!

8 Nov

Look who got a makeover!

If you remember, I found this chair at a thrift store for $14.99. I knew I wanted to have it covered in a geometric pattern I just couldn’t decide what color I wanted to use.  I couldn’t decide between a more neutral grey or a fun coral. Well I have since painted the inside of the front door coral and that seemed to give me the color fix I needed so I decided to go with a neutral. I found this black and white fabric on Amazon.com and it was only around $6.00 per yard!

I knew that black would be just as neutral as grey and would actually be a little bolder in the room, which is what I really wanted without having to commit to a specific color. Oh, and I had an amazon gift card!  So I ordered the fabric and got the chair to an upholsterer.

Here’s the chair before.

I’m so happy with how it turned out and how our little living room is coming along. While I’m on the subject, here are a couple of living room before shots. Like way before.

And now…

I love the element the chair brings to the room with the mixture of the modern fabric and the traditional wing back style. The best part? It’s really comfy!

Be back soon.

DIY Abstract Art

31 Oct

I have always loved abstract paintings. The problem is every time I find one I just can’t make the commitment to buy it. I’m not saying they aren’t worth what they cost I’m just saying I’m a girl on a budget.  Well I remembered that I had some old canvases from a (failed) diy project.

I also had some black paint. So I decided to make my own artwork. I used this piece from Little Green Notebook as my inspiration.

I had to cover up the hot mess that I made before so I started by applying primer. I applied the primer with a roller then went over it with a wide paint brush in quick back and forth strokes. This gave it a “grittiness” that added a nice texture. I had to do this three times to fully cover the old paint.

Then, I took another wide paint brush and painted black messy lines in a similar patter to my inspiration piece. Next,  I took a smaller paint brush and added a little grey paint. I tried to randomly “muddle” it into the center to make it look a little messier.

 I put it in the living room near my new coral door but I’m going to be changing up that area pretty soon.

So I moved it to the kitchen. It turns out that is the PERFECT place for it.

Have you ever painted any abstract art? I would love to see it!!

Coral: My Current Obsession

19 Oct

I’m not sure exactly when it happened but recently I’ve developed an obsession with the color coral.  Not in a way that I would want to paint an entire room with it but in a way that I want to put a touch of it in every room. There’s just something about coral. It creates warmth and works with so many different colors. Grey, navy, yellow, charcoal, gold, silver, there are just so many options. Well I though the perfect place to try it out would be the living room.

Our front door and entry area needed a little perking up.

New Coral Door!

(It was hard to get a great picture of it with the light shining through.)

It turns out I had to paint it twice to get the right color but I did finally get it right. I had to go into my “work studio” also known as the kitchen (ha!) and actually mix some paints but I finally got the color right. I started with a bright orange, added some white, then mixed in a little rusty red.

I was so happy with how it turned out that I wanted to go ahead and use it somewhere else. Then I remembered my little grey desk that I painted a million years ago. I still hadn’t finished painting the inside of it.

Here it is now.

Since I had already primed it I just added a coat of white paint. Then once it dried I taped it off and then painted the coral stripes. It never ceases to amaze me that such small changes can create such a big impact. This is why I love love love paint but as I learned this week it is ALL ABOUT getting the color right.

Ikat Chairs

5 Oct

This is a project I did a couple (?) of years ago but still one of my favorite things in the house so I thought I would share. Plus they’re  in the living room  where I will put the wingback when it’s finished.

These chairs have made me love grey and have made me OBSESSED with ikat. I just can’t get tired of these chairs.

So here’s the story. I bought them from a liquidator for $5.00 each. I think they came from a hotel or something like that because they had a ton of them.

This is what they looked like then.

The cushion and frame were in such great shape I knew they would be worth having reupholstered. So I picked up the fabric at Associated Fabrics which is an awesome fabric store. They have a great selection and are the nicest people.

Then I primed and painted the frames white,

and took them to a professional to have them reupholstered. Luckily, I had enough fabric leftover to have a couple of pillows made.

So after the cost of the chairs, the fabric, and paying the upholsterer I still only paid about $100.00 per chair.  They’re really comfy and the perfect size for our little living room.

Hope Chest Turned Dining Room Bench

21 Sep

 So I totally lucked out on this hope chest. It was a freebie from someone who just wanted to get rid of it. Well it just so happens that it’s perfect for my dining room. Not only can it be used as storage but I can pull it up to the dining room table as seating when we use the leaf.

 It took me forever to decide what I wanted to do with it but I finally figured it out. This is what it looks like now.

I could have just painted the whole thing but I just wasn’t feeling those floral carvings. So I painted everything but the front panels with two coats of white chalk paint then I lightly distressed it.

Then, I went to Lowe’s and bought a small sheet of birch ( I think ?) and had them cut it into four small pieces that were cut to fit each section. Then I tried to distress them a little using a rock and a hammer but I  almost broke one of them so I made myself  stop. (I got a little crazy with the hammer).

Then I applied a steel wool and vinegar solution similar to what I did to my dining table only this time I didn’t use tea. After I applied the steel wool/vinegar I applied an uneven coat of dark pecan stain. I was hoping to give it a little bit of a weathered look.

Then all that was left to do was apply the panels to the chest. I like E9000 glue for this type of project. If you use it just be prepared to smell it for weeks. It’s really strong.

Before:

After:

I’m still playing around with the pillows and the accessories on the shelves. I can’t decide if it needs color or not. I kinda love the coral with it.

So happy I can mark another dining room project off my list!! One of these days I WILL finish this room.

I’m linked up at

 http://www.lizmarieblog.com/

and

http://www.jenniferrizzo.com/

Restyled Lamp

7 Aug

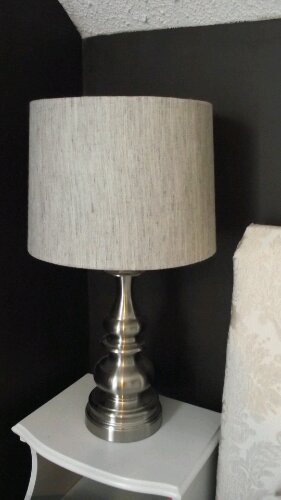
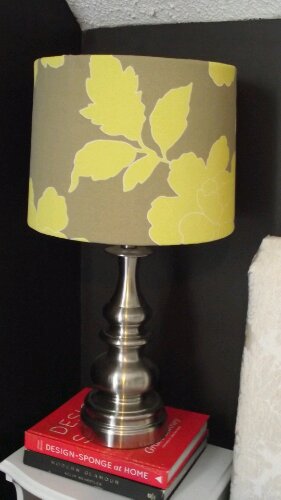
So I’ve been working on totally redoing our bedroom and I’m SO close to being finished. I’m loving how it’s coming along but it could definitely use some color. I had some leftover fabric (from recovering our desk chair) that I wanted to use but didn’t really want to use it for pillows. It’s an outdoor fabric so it’s not too soft. Then the other day I looked over at the lamp on the night stand and realized it was just a little bit sad. I mean, it was pretty enough, just not very exciting. That’s when I decided it would be the perfect place to use the fabric.

So the lamp went from this:

image

To this:

image

It was sooo easy I can’t believe it never occurred to me before.

This is what I did.

  • Step 1: I measured the diameter of the lampshade and cut the fabric a few inches longer than that. Also, I left the fabric several inches longer than the total height of the lampshade.
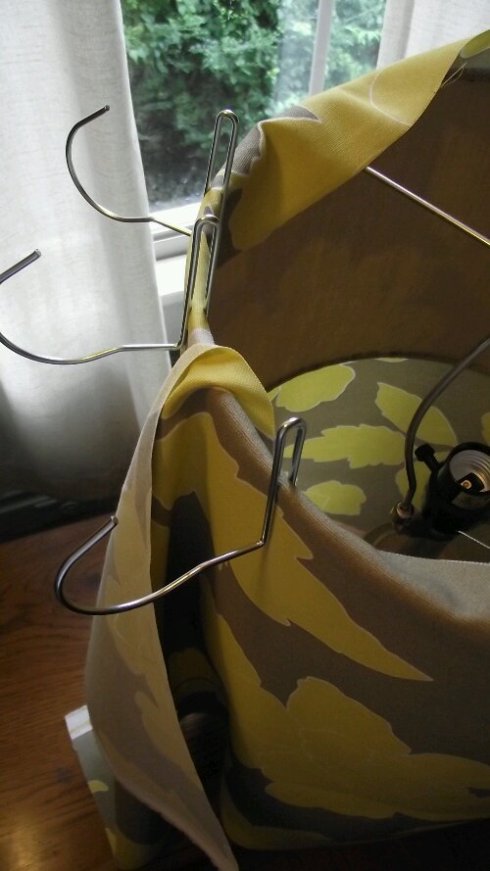
  • Step 2: I wrapped the fabric around the shade and used some old fabric swatch hangers to clamp the fabric on so it would stay in place as I worked. (People totally made fun of me for saving these little hangers by the way and look how handy they are. Uh-Huh.)

image

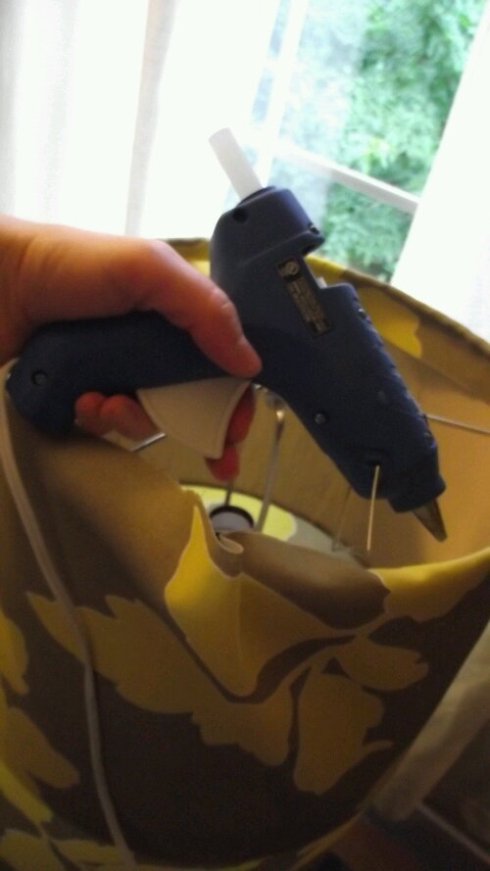
  • Step 3: I started on one side by applying glue to the inside of the top edge of the shade in small sections and wrapping the fabric over the edge to attach it. I did this all the way around, pulling the fabric tight and smoothing it out on the shade as I went.

image

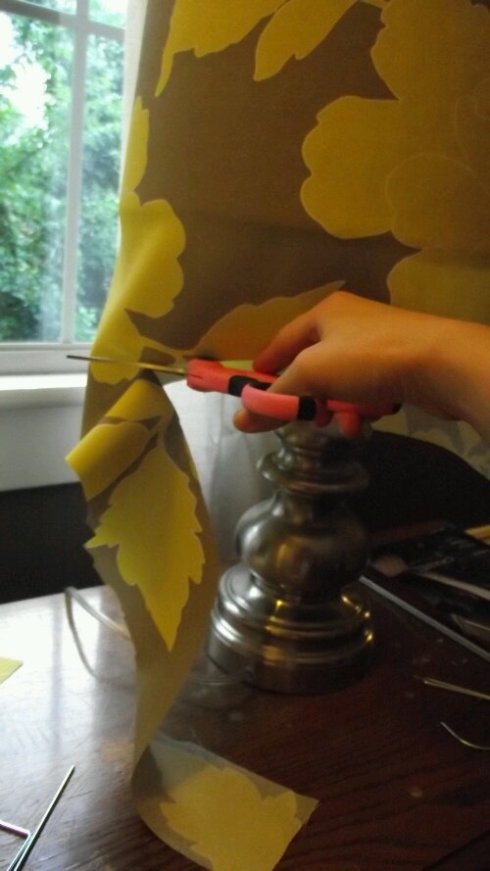
  • Step 4: Once I got all the way around the shade I just folded in the edge of the fabric to get a clean seam, pulled it tight, and glued it down. Then I trimmed the excess fabric off the bottom still leaving a couple of extra inches.

image

  • Step 5: I took the shade off the lamp, flipped it over, and did the same thing around the other edge.
  • Step 6: Once all the glue dried I cut the extra fabric hanging off the edges and put the shade back on the lamp.

Lamp Before

Funny how such a small change can make such a big difference! It’s like I got a brand new lamp for free!! What do you think?

I’m joining a linky party here. Come check it out!!

image

Painted Home and Porch Makeover

22 Jul

Wow. It never ceases to amaze me what a difference a fresh coat of paint can make. This is our house.

It used to look like this.

It needed a paint job. Bad. So one weekend an amazing group of people came together and painted our house. Those people are our family.  They worked so hard and did an AWESOME job. They even brought food!! So much love went into painting this house and we can’t thank them enough for what they did. Well, with this amazing new paint job I knew I needed to give the front porch a little decor love.

 It was really sad. This is what it looked like before.

So Bill refinished the floor by stripping the paint off and applying a stain and I got to work painting and sewing.

Someone had given me this beautiful fabric and I knew it would be perfect to use on the porch since it had all the right colors.

We already had one bamboo folding chair on the porch and I lucked out and found another one at Tuesday Morning on clearance for $7.00! I knew that would make a cute set.  We also already had a basic garden bench. I wanted to pull out the blue in the fabric so I painted the bench Buxton Blue by Benjamin Moore and I spray painted the bamboo chairs black by Krylon Fusion. Here is one of the chairs before.

Then I pulled it all together by sewing seat cushions for the chairs and sewing a little pillow for the bench.

We also had an outdoor rug just hanging out in our guest bedroom doing absolutely nothing. I knew it would work since it is cream and black so I  dragged it outside and placed it under the bench and it was perfect.  (LOVE greek key patterns, one of my favorites). I brought out some red vases that I had gotten as gifts that are now sitting on a little black table I got at a yard sale for $5.00 (not pictured) and I pulled out a floor vase and filled it with wheat to go between the chairs.

At some point I might add some plants or some other kind of greenery. Anyway, here is the porch now.

We LOVE how it all came together and will be forever grateful for all the helping hands.