Tag Archives: diy painted fabric

Bedroom Makeover: A Much Needed Change

22 Aug

Hey y’all! Hope you’re all having a great week. Mine has been a little rough. We had to say goodbye to our sweet little Lola. She was our furry baby and it was devastating to have to let her go. But I won’t dwell on that. I just want to say that we are so thankful to have been blessed with her in our lives and we SO appreciate all the kind words and prayers from everyone.

Anyway, I had been planning to give our bedroom a much needed freshening up and after what happened this week it seemed like the perfect time to just get in there and get it done. It was a GREAT distraction. There are still a few more things I want to do, like paint a white wall, add some artwork, and add a new light fixture and some accessories. But I did get a lot done and now it feels fresh and crisp. Exactly what we needed. 
Eclectic Bedroom Makeover

Coral Grey Indigo White Bedroom

Painted Bamboo Wicker Chair

Gold Painted Wicker Bamboo Chair

DIY Upholstered Headboard

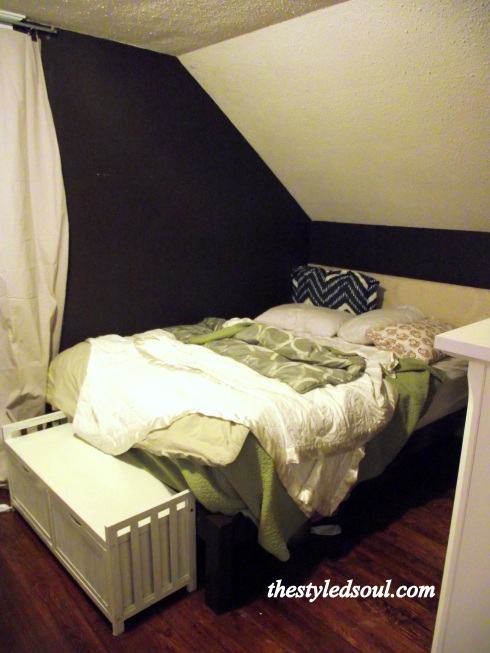
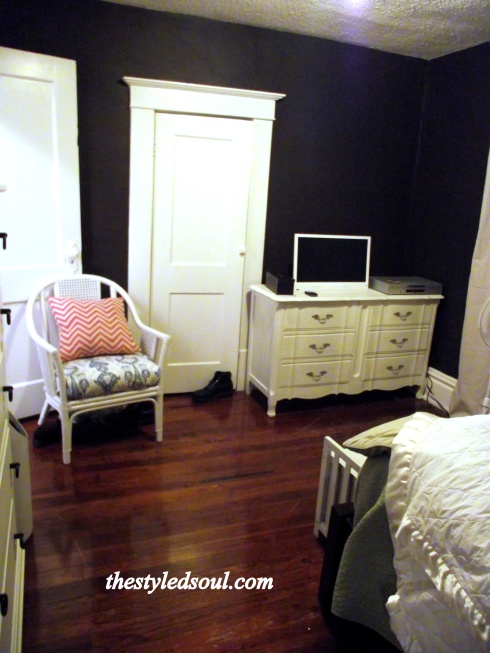
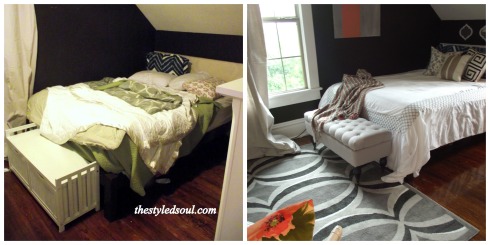
Grey Bedroom RugLolaCheck out these before pictures.

Bedroom Before

Bedroom Before

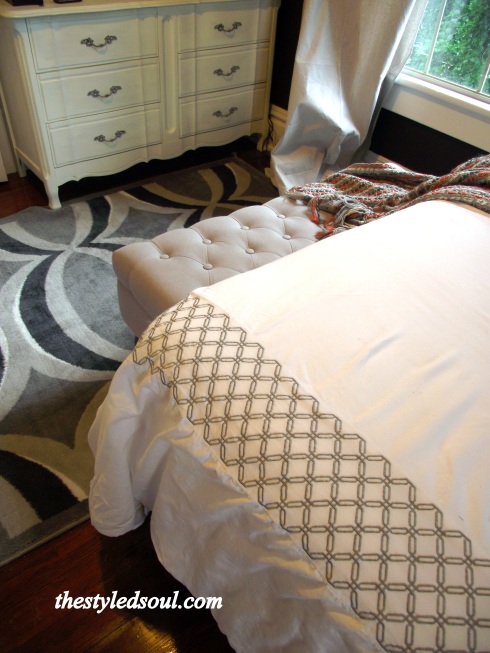
This is what I’ve done so far. 

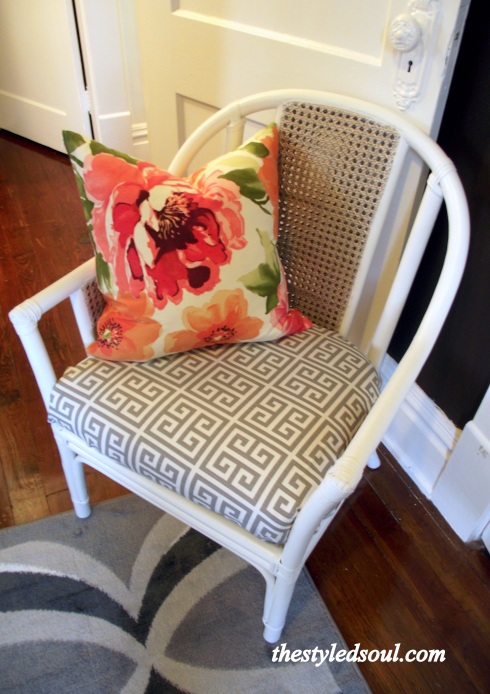
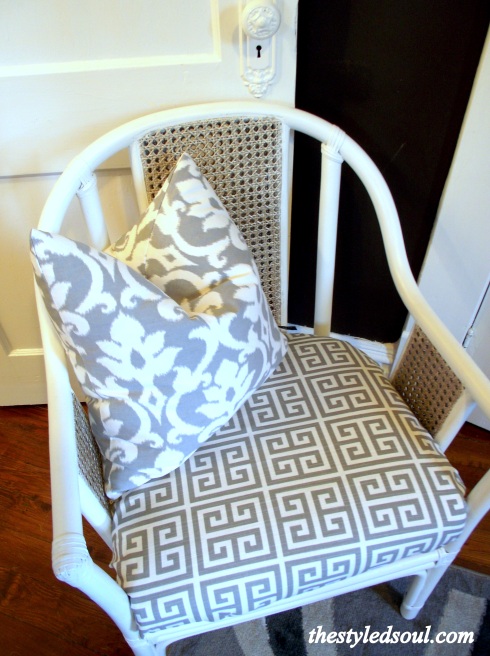
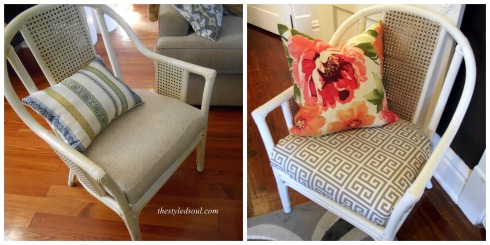
  • Painted the bamboo chair in white and gold. Covered the seat cushion in a grey/white greek key fabric. 
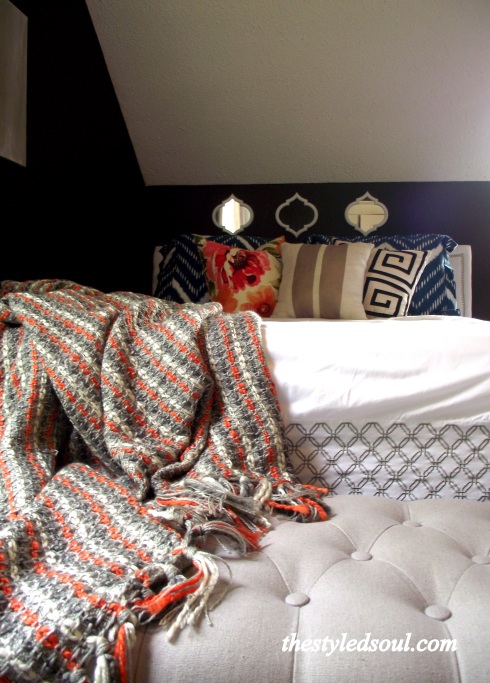
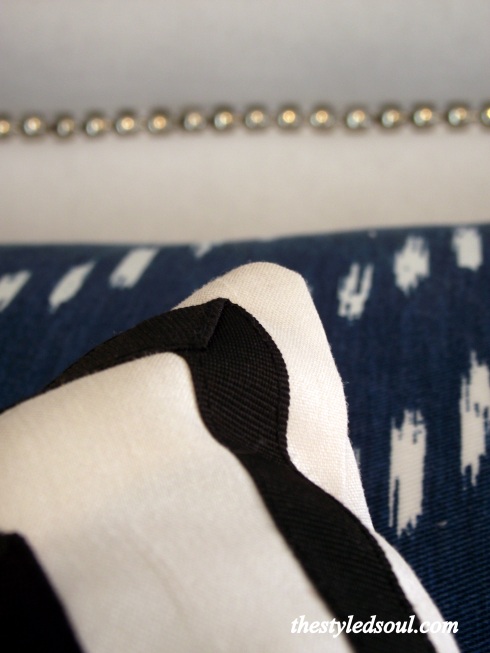
  • Reupholstered the headboard in a bright white fabric and added a nailhead trim. I used a table cloth from Target. 
  • Replaced the wooden storage bench with an upholstered ottoman. 
  • Pulled the white duvet cover from the guest room and kept the Nate Berkus indigo pillow shams. (If you’ve been following for a while then you know I was determined to use some of that indigo blue bedding). 
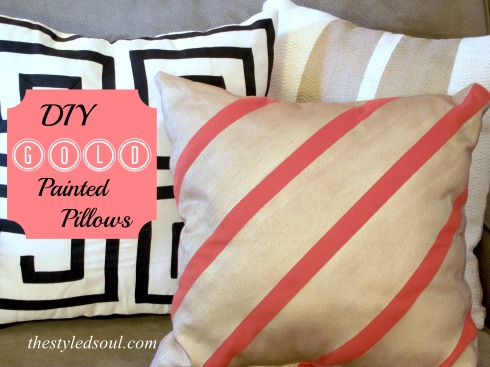
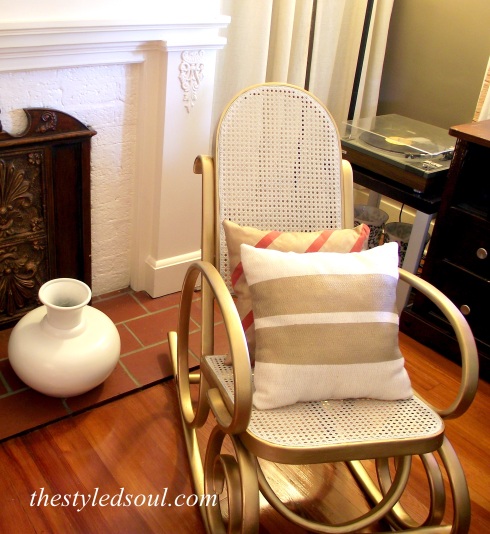
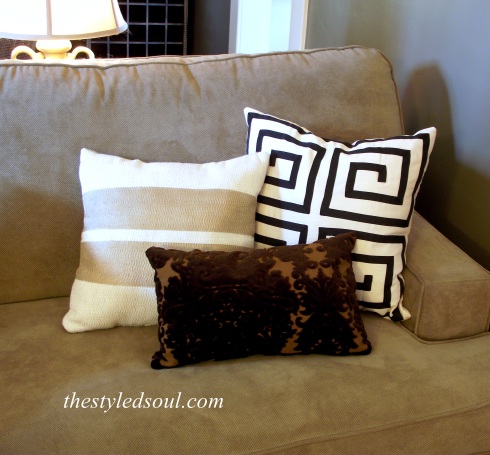
  • Added one of my DIY Gold Painted Pillows along with some other new and old toss pillows. 
  • Added a new rug from Garden Ridge. 
  • Hung a set of mirrors above the bed. I found those at Target. I was trying to create the illusion of a taller headboard. 

Bamboo Wicker Chair Before and After

Bedroom Before and After

I totally believe that if you make your home a happier place you’ll be a happier person. That was pretty much the goal this week, to make our home a happy place to be.

Thanks so much for stopping by. Have a beautiful weekend!

 photo name_zpse215d949.png

Linking up to some fab linky parties this week.

Liz Marie Blog

If It’s Not Baroque

The Shabby Nest

Suburbs Mama

DIY Showoff

Rain on a Tin Roof

Homecoming

The Blissful Bee

A Stylish Interior

DIY Gold Painted Pillows

2 Aug

I have a quick project to share with you today. It’s really easy and can be done in an afternoon. diy gold painted pillows

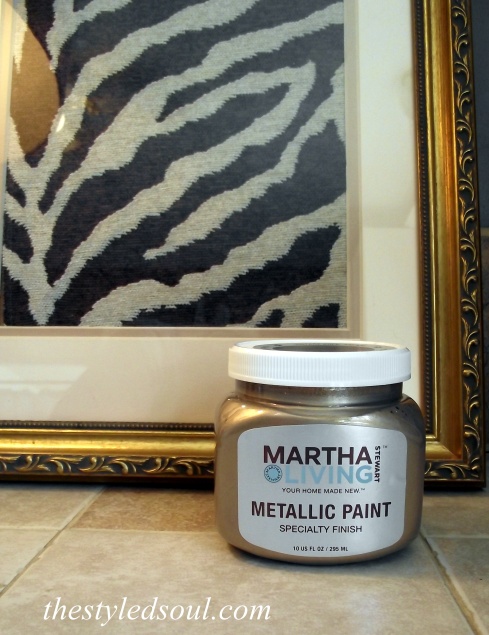
If you have some pillows you want to jazz up then this is for you. Martha Stewart Metallic Paint. Every time I went to Home Depot I would eyeball this paint. I don’t know what took me so long but I finally bought some.

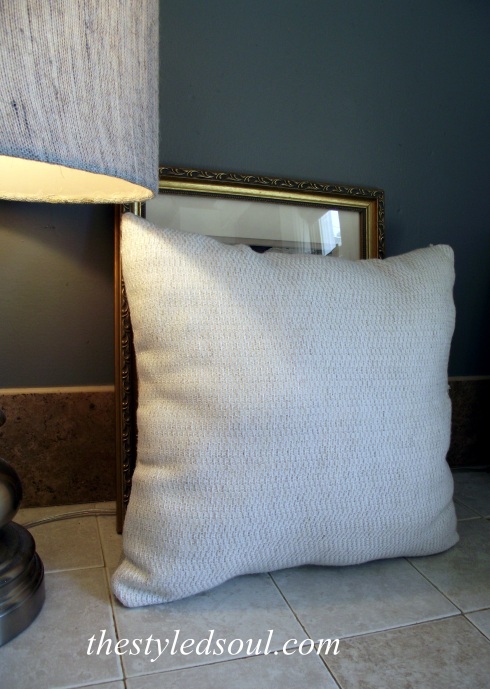
Martha Stewart Gold PaintThere are about a hundred things I wanted to use this paint on but I decided to start with these plain toss pillows I made a while ago. They were nothing special. I had simply sewn together some old fabric swatches I had lying around. They are so much better now.

This is what I started with.

Martha Stewart Gold Paint

DIY painted pillow

DIY painted pillow

Yeah they are FAR from perfect but keep in mind sewing is “not mah thang”.

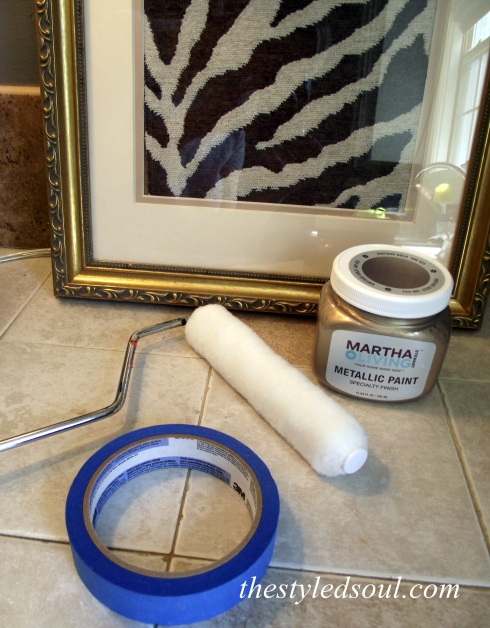
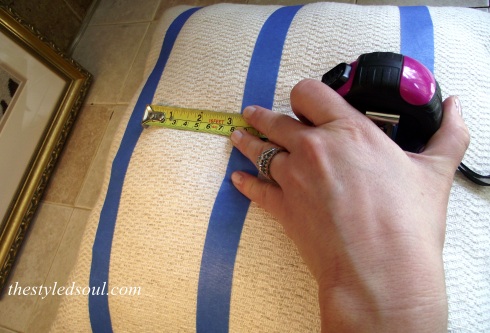
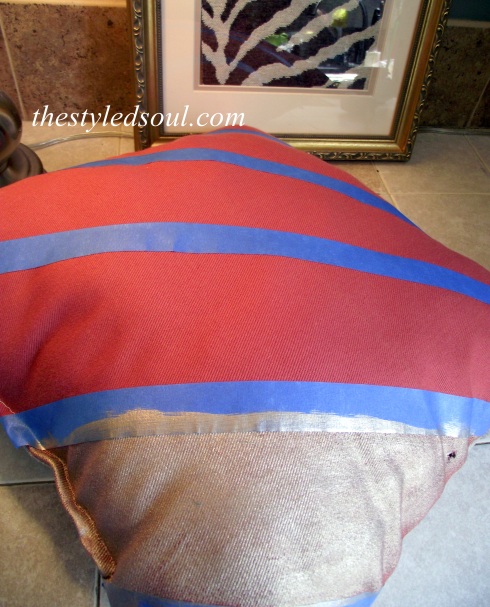
I taped off the first pillow so that I would end up with two bold stripes through the center of the pillow. I measured about 3 1/2″ between the strips of tape.

DIY painted pillows

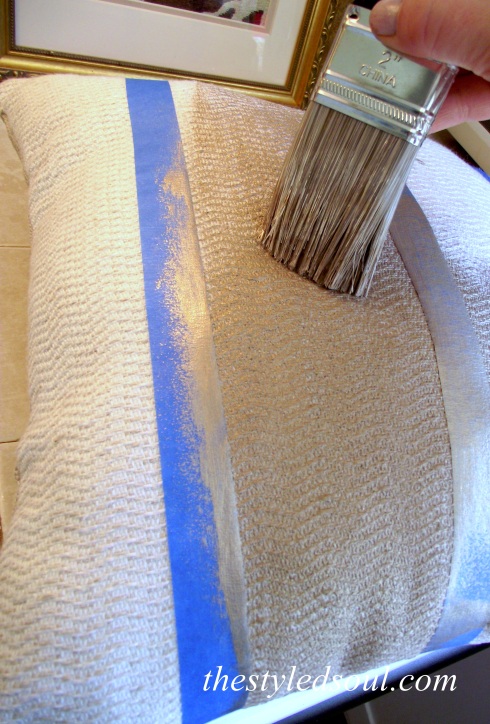
Once I started painting I quickly realized it would work much better with a paint brush.

DIY gold painted pillow

The fabric is textured so it was easier to get the paint to stick in all the grooves with a brush.

A couple of things I learned about painting fabric. 

  • Paint on top of and away from the tape. Not toward it. It felt like the paint would easily slide under the tape.
  • Don’t put a lot of paint on the brush but saturate the fabric really well so you only have to apply one coat.

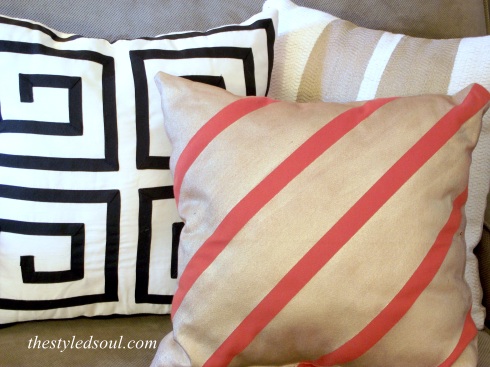
For the second pillow I wanted a diagonal pattern so I placed the tape in diagonal strips about 3″ apart.

DIY gold painted pillow

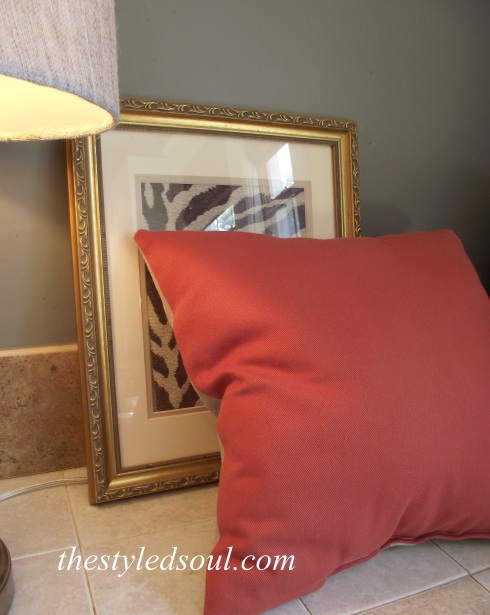
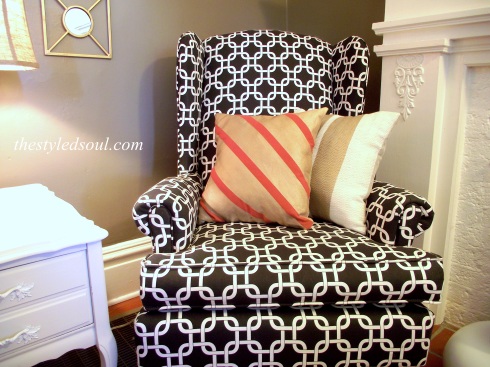
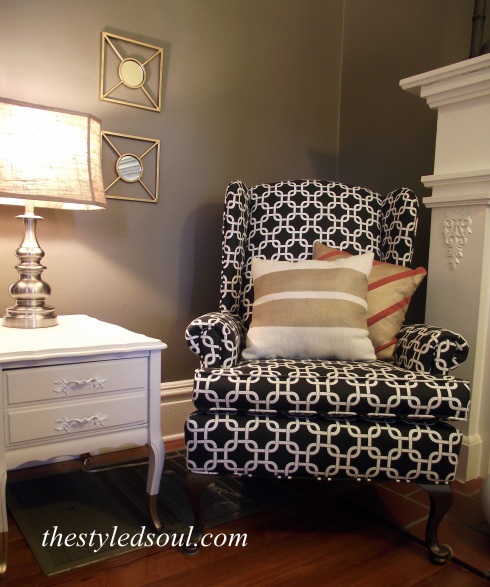
This is how they turned out.

diy gold painted pillows

diy gold painted pillowsdiy gold painted pillowsdiy gold painted pillowsdiy gold painted pillows

This was so easy. Seriously, it only took a couple of hours including dry time. I LOVE this paint. Thanks Martha! I can’t wait to try it on some other things. Until now, painting something gold required spray painting which meant if it was raining I could forget it. Oh, and it’s kind of hard to tell in the photos but it has a GORGEOUS metallic sheen and it isn’t as deep of a gold that you get from most spray paints. LOVE!

I’m still playing around with where I want to keep the pillows but for now they look pretty good in the living room. Oh, and I now have new inspiration to refinish our dining chairs. Maybe I can get to that soon….

So have you ever painted fabric? Share!!

This is where I’ll be linking up this week. Come check it out!
Liz Marie Blog

Suburbs Mama

DIY Showoff

Give Me the Goods Monday @ Rain On a Tin Roof

If It’s Not Baroque

The Blissful Bee

Home Coming


 photo name_zpse215d949.png

DIY Painted Spot Fabric

2 Jul

DIY painted fabric

Have you noticed a trend in fabric lately? This really cool black and white spotted fabric that’s half polka dot half cheetah print? It has such an eclectic chic vibe.

black white spot wallpaper

I’m drooling over these images from pinterest.

tommy smythe living room

How amazing are these chairs in this living room by Tommy Smythe?

spot pilliw furbish

I’m loving this pillow from Furbish Studio.

I was feeling super inspired by all these looks. I LOVE this fabric and was dying to use it somewhere.

spot fabric

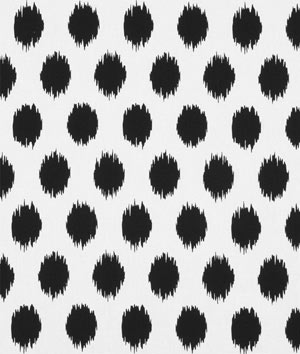
I found this great fabric at Warehouse Fabrics Inc.

I could have ordered a yard of it but I just happened to have some white fabric and of course I had some basic black paint. So I decided to make my own ;)

It was super easy. Seriously,  if I can do this anyone can. These are the things you will need.

  • Fabric
  • Paint
  • A basic sponge
  • Scissors
  • Paper plates
  • Paper towels

Take a basic cleaning sponge and pull it apart lengthwise so it isn’t as thick. Then cut out two or three circles. They don’t have to be perfect.

painted fabric

Next,  iron your fabric and lay it on a flat surface. Pour some paint into a paper plate and place an empty paper plate next to it (this is where you will keep your sponge circles) along with some paper towels.  Now that the set up is ready you can start the “painting” process.

I didn’t really go with a pattern since I wanted the spots to look kind of random. I just started in the center and worked my way out. I had three pieces of sponge cut out and I started with the biggest one. I dipped the sponge in the paint, pressed the excess off on the paper towel then pressed the “spot” onto the fabric. I could get about two or three spots on the fabric from each dip in the paint but I did have to go over some of the spots that didn’t look like they had enough paint.

This is what it looked like just after I started.

painted fabric

And this is what it looked like when I was finished.

DIY Painted spot fabric

I just hung it with a clipped pants hanger to dry overnight then I covered this little chair seat with it.

diy painted fabric

DIY painted fabric DSCF3936a

Maybe next time I’ll try it on the wall. Should I?!?!

 photo name_zpse215d949.png